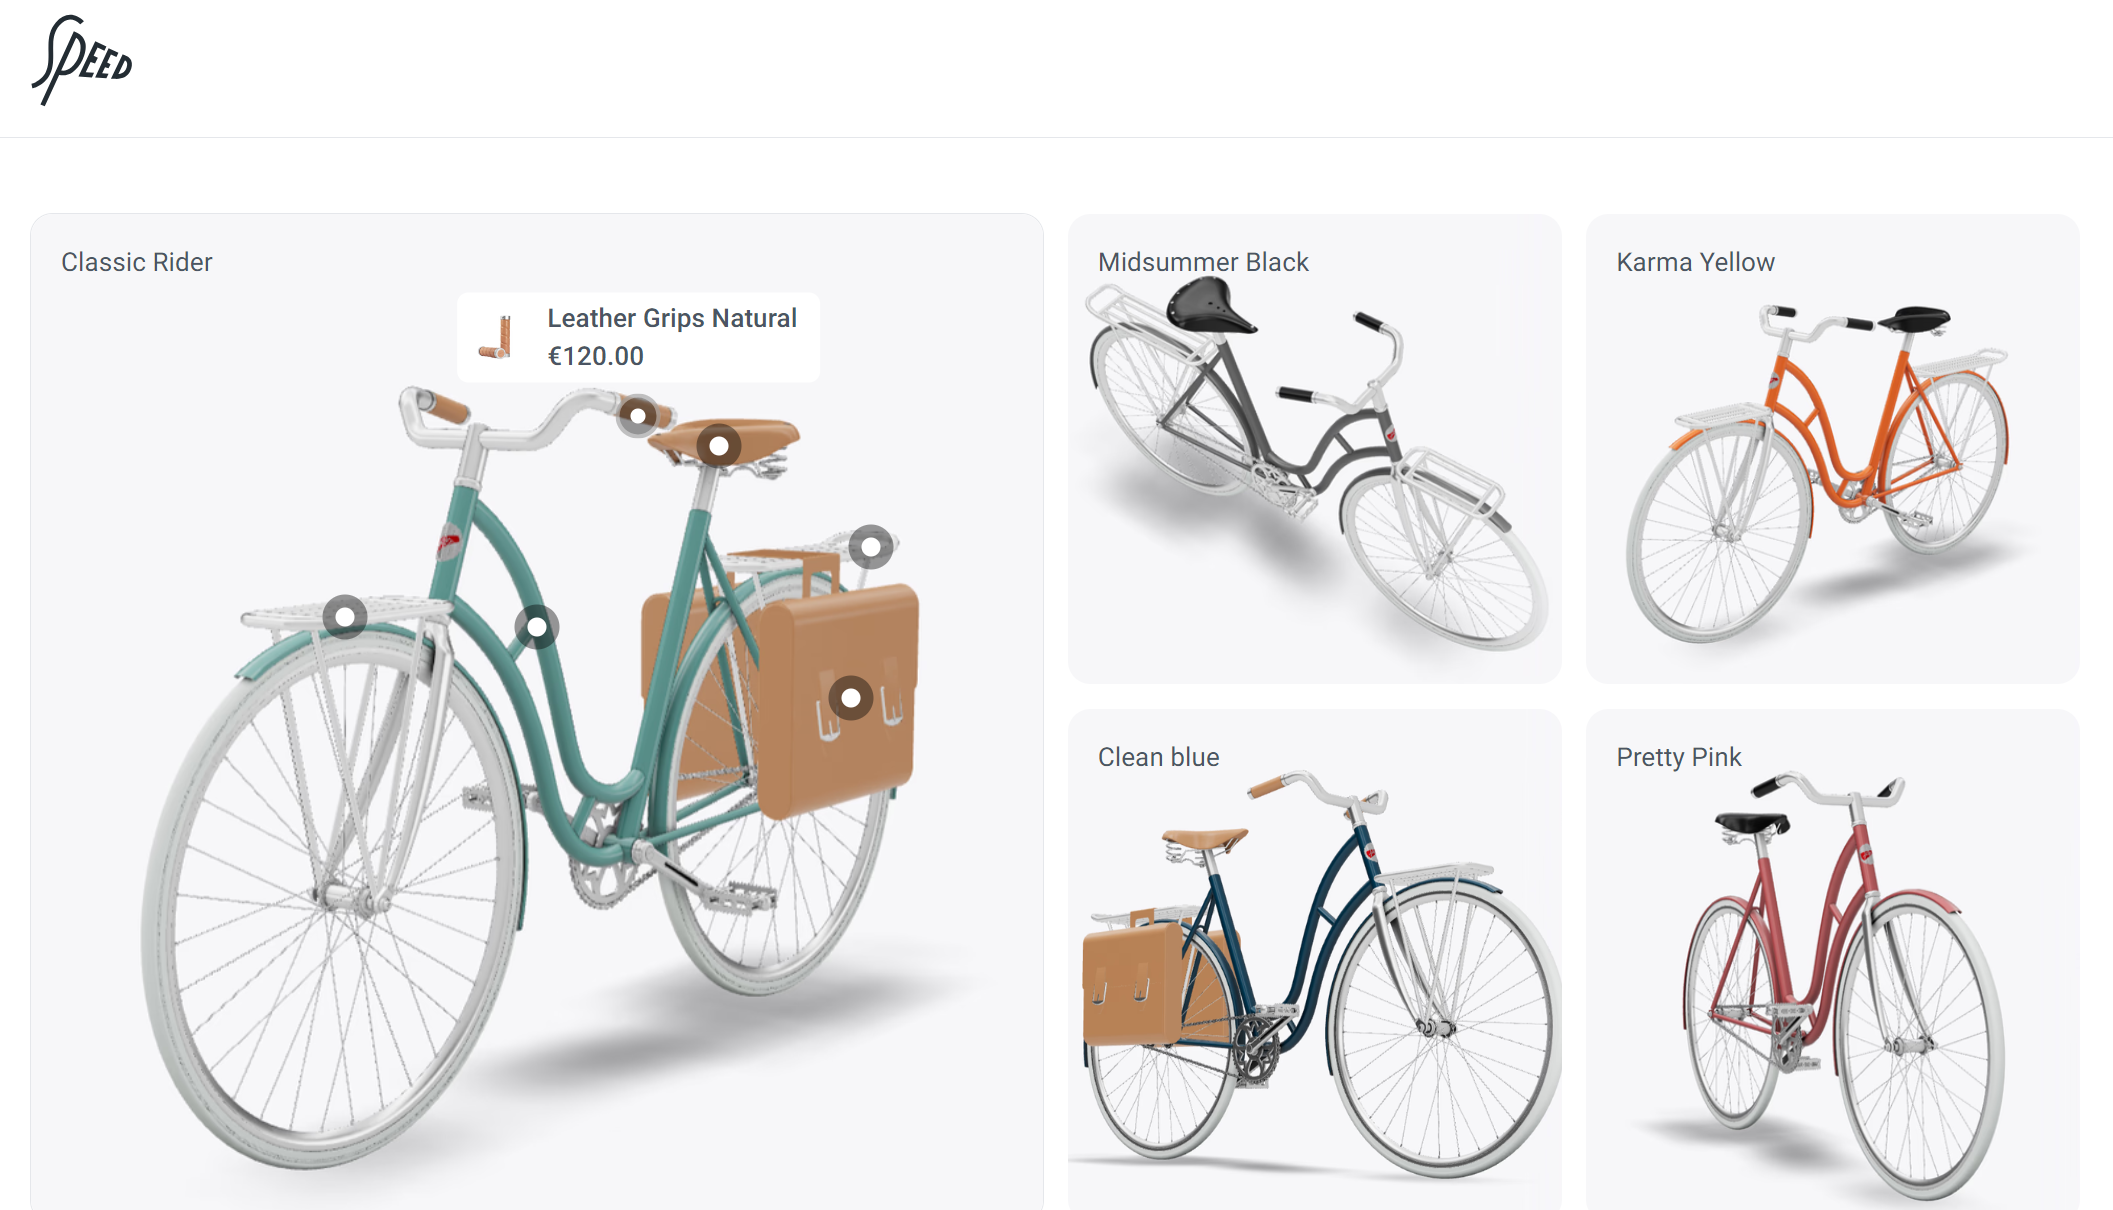
Building a 3D/AR Product Configurator with Crystallize and <model-viewer> (Furniture Example)
Imagine letting your customers virtually place a chair in their living room before making a purchase – that’s the magic of 3D and AR in e-commerce.
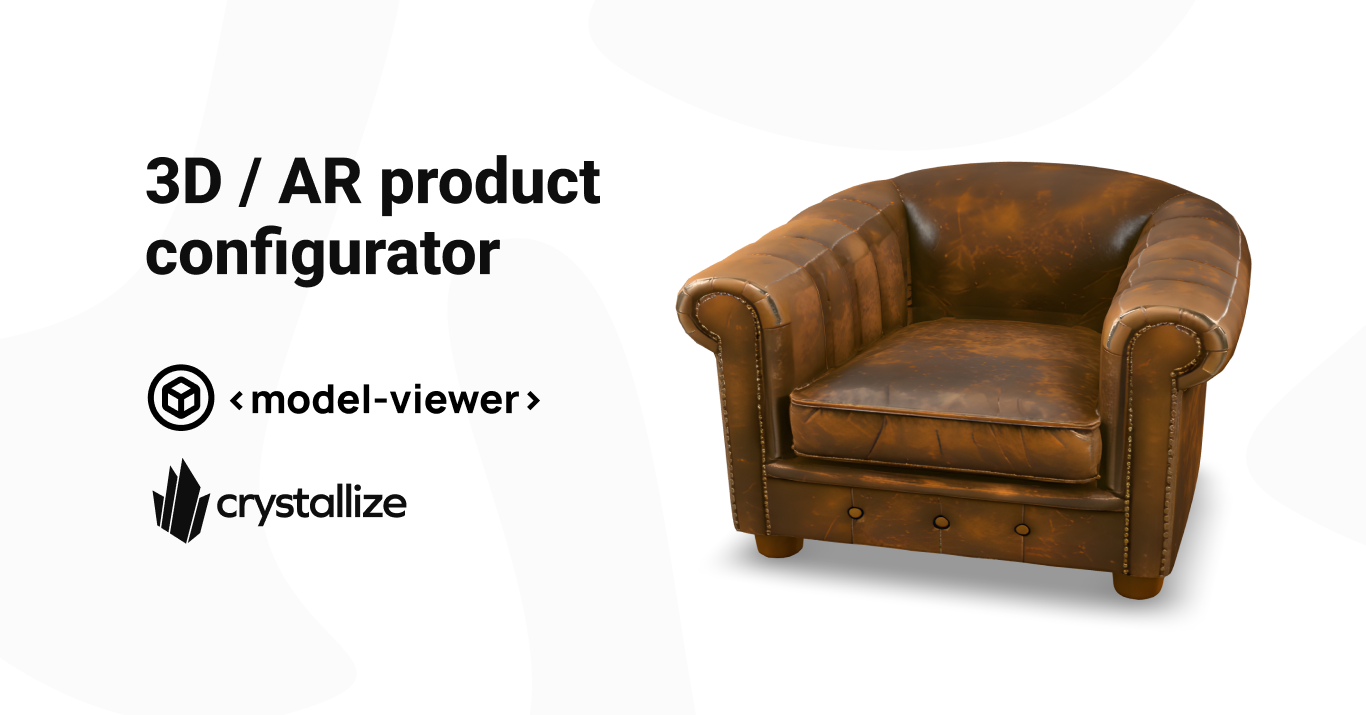
3D and AR bridge the gap between online shopping and real-world experience, giving shoppers more confidence in their purchases. It is / it can be your secret weapon. The result?
Happier customers and higher sales.
In fact, some brands have seen HUGE uplifts implementing 3D/AR. Rebecca Minkoff (handbag company) found shoppers were 65% more likely to purchase after interacting with a product in AR (source), and Gunner Kennels (dog kennels company) saw a 40% increase in conversions when they added AR visualization for their dog crates.
Fewer surprises mean fewer returns, too. Customers know exactly what they’re getting when they can spin a 3D model around or see it at true scale in their homes.
Believe it or not, the magic of 3D/AR is easily available…with the Crystallize product configurator boilerplate.
In this tutorial, we’ll guide you through building a 3D/AR product configurator for a piece of furniture (let’s say a cool chair🪑). We’ll use Crystallize (a headless product catalog) to manage our product data and variants, and Google’s awesome <model-viewer> web component to render 3D models with AR capabilities.
By the end, you’ll have a basic app that allows users to toggle between different chair colors and materials in 3D and even place the chair in their room via AR on their phone. Does that sound fun? Let’s dive in!
Getting 3D Models of Your Product
Before we write any code, we need a 3D model of our product (our chair🪑). If you’re not a 3D modeling expert, don’t panic – there are several ways to get a great model/
Hire or Download: The easiest option is to find an existing model or hire a pro. You can use a third-party agency or a freelance 3D designer to create the model for you. There are also online libraries such as Sketchfab, CGTrader, etc., with pre-made furniture models. Some are free, others paid – but it saves you time if the model you need already exists. We used this Leather armchair example.
Getting 3D Models of Your Product
Before we write any code, we need a 3D model of our product (our chair🪑). If you’re not a 3D modeling expert, don’t panic – there are several ways to get a great model/ Hire or Download: The easiest option is to find an existing model or hire a pro. You can use a third-party agency or a freelance 3D designer to create the model for you. There are also online libraries such as Sketchfab, CGTrader, etc., with pre-made furniture models. Some are free, others paid – but it saves you time if the model you need already exists. We used this Leather armchair example.
DIY in Blender: Feeling adventurous? Blender is a powerful open-source 3D tool for modeling and texturing. You can try tweaking an existing model or even modeling a simple chair from scratch. It has a learning curve, but tons of tutorials online.
Existing Assets: If you manufacture the product, you might already have CAD files or 3D assets from your design team. Those can often be converted to web-friendly formats with some work (adjusting materials, poly count, etc.).
Ensure Web-Friendly Format: We’ll use <model-viewer>, which works best with glTF or GLB files. This is a widely supported and efficient format for 3D content on the web. Many tools, including Blender, can be exported directly to GLB. If your model comes in OBJ, FBX, or another format, convert it to glTF or GLB for smooth sailing.
Pro tip: Aim for a reasonable polygon count and optimized textures. We want the chair to look good, but remember it has to load in a browser (ideally under a few MB). You can always simplify the model or compress textures if needed. Also, scale the model correctly (e.g., 1 unit = 1 meter) so it appears at real-world size in AR by default.
Now that we have our 3D model (say chair.glb), let’s set up our product in Crystallize.
Setting Up the Product in Crystallize (Variants & 3D Assets)
Next, we’ll configure our product catalog in Crystallize, a headless PIM (Product Information Management) that allows us to define products with rich content and multiple variants. In our case, we have one product—the Chair🪑, which may come in several variants (e.g., different colors or materials). Using variants in Crystallize makes it easy to manage each configuration’s data (prices, images, and, yes, 3D model files) separately.
📰Example.
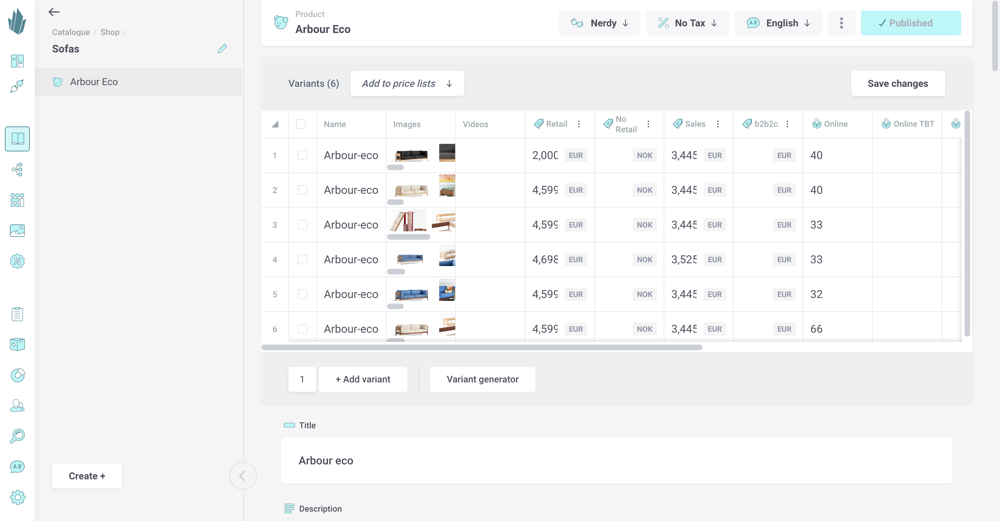
Defining product variants in Crystallize’s dashboard. Here, a sofa product has multiple color variants, each with its own image and data. We’ll do the same for our 3D chair, attaching a model file to each variant.
Step by Step
1. Define the Product and Variants: In the Crystallize app, create a new Product (e.g., “Augmenteez Chair”). Give it a catchy description and maybe a few static images. Then define variant options – perhaps Material or Color. For example, create variants like “Oak Wood Finish”, “Walnut Finish”, “White Painted,” etc., or maybe different fabric colors for the cushions. Each variant will represent a unique combination that customers can select.
2. Add 3D Model Files to Variants: Crystallize allows you to store extra media or assets per variant. In your product shape, add a File or Media field that’s variant-specific (e.g., a field called “3D Model”). For each variant, upload the corresponding GLB file of the chair in that color and material. If the same model file contains all variants (more on that later), you could also upload just one file and reuse it. However, let’s assume we have separate files for simplicity. You can also add a USDZ file for iOS AR if you have one; USDZ is Apple’s format for AR Quick Look. If you don’t have USDZ, don’t worry – <model-viewer> can auto-convert the GLB for AR on iOS in many cases. Additionally, keep a normal image for each variant; we can use it as a poster or thumbnail.
3. Organize Metadata: Give each variant a name (for display), SKU, price, etc. This is all standard PIM stuff. The key is ensuring we can access the 3D model URL for each variant on our frontend. Crystallize will host the files you upload, so each variant’s model field will provide a URL to the GLB (and USDZ, if available).
After this setup, our product, the Augmenteez Chair, has three variants (Oak, Walnut, and White), each with its 3D model file and image. Now, we can fetch this data via Crystallize’s API in our front-end app.
4. Fetching product data via GraphQL: Crystallize’s API is GraphQL-based, making it straightforward to query exactly what we need. For example, we can query our chair product and get its variants like so:
query getChairProduct($catalogPath: String!) {
  catalogue(path: $catalogPath, language: "en") {
    ... on Product {
      name
      variants {
        id
        name
        price
        attributes {
          attribute
          value
        }
        image { url }       # main image for the variant
        threeDModel : component(id: "3d-model") {
          ... on FileContent {
            url      # URL to the GLB file we uploaded
          }
        }
        usdzModel : component(id: "usdz-model") {
          ... on FileContent {
            url      # URL to the USDZ file (if any)
          }
        }
      }
    }
  }
}
In a Next.js app, you might call this query in getStaticProps or on the client to retrieve the product info. The exact shape of the query depends on how you configured your shape (the above is an example assuming you named the components "3d-model" and "usdz-model"). The result will give us all the data we need to drive the 3D configurator in the frontend – essentially a list of variant names and model URLs.
Building the Frontend with <model-viewer> (React/Next.js)
Time to bring this to life in the browser! As already explained, we’ll use <model-viewer>, a web component developed by Google, which makes it super easy to display interactive 3D models on the web and handle AR without breaking a sweat. The beauty of <model-viewer> is that it’s just an HTML element – so you can use it in any framework (React, Vue, plain HTML, you name it) as if it were a normal tag.
First, we need to include the <model-viewer> component in our app. You can either include it via a script tag or an npm package. For a Next.js project, a convenient way is to install it:
npm install @google/model-viewerThis gives you the package that registers the web component. We will also install three (the engine under the hood), although the package may already include it as a dependency.
Load/Import it. In a Next.js app, since this is a browser-specific feature, you should ensure the code only runs on the client. One approach is to import it dynamically. For example, in a React component, do:
useEffect(() => {
  import('@google/model-viewer');
}, []);
This will define <model-viewer> globally when the component mounts. Alternatively, you can add a <script> tag for the model-viewer CDN in your app.js or document.js. Either way, once loaded, you can use <model-viewer> tags in your JSX.
Now, let’s create a React component for our product view. We’ll display the 3D model and some controls to switch variants:
// Example React component (Next.js) for the 3D Chair Viewer
import { useState } from 'react';
// (Assume model-viewer is already imported globally as shown above)

export default function ChairConfigurator({ product }) {
  const [selectedVariant, setSelectedVariant] = useState(product.variants[0]);

  return (
    <div className="product-view">
      {/* 3D Model Viewer */}
      <model-viewer
        src={selectedVariant.threeDModel.url}         // GLB model URL for current variant
        ios-src={selectedVariant.usdzModel?.url}      // USDZ model URL for AR on iOS (if exists)
        alt={`3D model of ${product.name} - ${selectedVariant.name} variant`}
        ar                                        // Enable AR mode
        ar-scale="fixed"                          // Ensure AR model appears at real size
        camera-controls                           // Allow rotate/zoom controls
        shadow-intensity="1" shadow-softness="1.5"// Nice soft shadow under the model
        auto-rotate                               // Slowly spin the model by default
        poster={selectedVariant.image.url}        // Placeholder image while loading
        style={{ width: '100%', height: '500px' }} // Set canvas size
      />
      {/* Variant Switcher UI */}
      <div className="variant-picker">
        {product.variants.map(variant => (
          <button
            key={variant.id}
            onClick={() => setSelectedVariant(variant)}
            className={variant.id === selectedVariant.id ? 'active' : ''}
          >
            {variant.name}
          </button>
        ))}
      </div>
    </div>
  );
}
Let’s break down what’s happening here:
- <model-viewer> element. This is the core of our viewer. We point its src to the GLB model URL for the selected variant. That alone will render a 3D model on the page – “boom, with a single line of code we render a 3D model on the screen!”. We also pass some attributes:
- ios-src points to a USDZ file for AR on iOS. If we have that file, great – iPhones will use that for AR. If not, <model-viewer> can attempt an auto-conversion (or simply fall back to using the GLB via WebXR on newer iOS).
- alt is for accessibility (always include an alt text for users who can’t see the model).
- ar attribute enables AR mode. Believe it or not, that’s all you need to do to turn on AR! As the Crystallize team said in their demo, enabling AR is “extremely easy... all you need to do is pass a boolean property ar to the model viewer”. No extra libraries, no complex setup.<model-viewer> will handle the rest.
- ar-scale="fixed" ensures the model’s size in AR is fixed to its real-world dimensions (so users can’t accidentally scale the chair bigger or smaller). For furniture, you typically want true-to-scale AR. (The default ar-scale is "auto" which allows pinch-zoom scaling; setting to "fixed" disables that.)
- camera-controls gives the user the ability to rotate and zoom the model with the mouse/touch. Without this, the model is static (like a picture). Turn it on, and “Tada! Now we have a 3D model that we can play with – we can even zoom in and out”, making it feel truly interactive.
- shadow-intensity and shadow-softness are optional nice-to-haves – they add a soft drop shadow beneath the model, so it looks like it’s sitting on a surface instead of floating. In our example, we set a medium intensity and some softness for a realistic touch.
- auto-rotate will slowly spin the chair when the user isn’t interacting, which is great to catch the eye and show the product from all angles automatically. You can omit this if you don’t want the motion, but it’s effective for demos.
- poster is a URL to an image to show while the 3D model is loading. We use the variant’s main image. This improves perceived performance – the user sees a nice photo of the chair immediately, and once the GLB is loaded, it seamlessly transitions to the 3D model. Always provide a poster; it makes the loading experience much nicer.
- Variant Picker UI. Below the viewer, we render a simple list of buttons for each variant. When clicked, we update selectedVariant, which triggers the <model-viewer> to load the new src (or switch the material variant internally in a more advanced scenario). This way, the user can instantly toggle between, say, Oak and Walnut finishes. If the GLB files are large, the switching might have a brief loading time if not cached. But if they’re small or already preloaded, it can be nearly instant. (If using a single GLB with multiple materials via the KHR_materials_variants extension, you could instead load one model and tell <model-viewer> to switch variant internally – this avoids reloading. In that case, you would use the variant-name attribute or the JS API to change the variant, which is also a one-line command. However, managing separate files per variant, as we do here, is fine and easier to set up in the PIM.
At this point, if you fire up your Next.js app and view the product page, you should see the 3D model of the chair. You can rotate it, zoom in/out, and switch variants using the buttons. The <model-viewer> component provides built-in smooth controls and lighting. With just a few lines of HTML/JSX, we got a pretty slick 3D viewer.
Enabling Augmented Reality (AR) 😎
One of the coolest features of <model-viewer> is how it makes AR super simple. We already added the ar attribute to our element, so what does that do? On a supported mobile device, <model-viewer> displays an AR icon or button (usually a small cube or an AR goggles icon). If the user taps it, the native AR viewer on the device will launch with our model.
Android devices use ARore’s Scene Viewer by default. The chair opens in an AR viewer, and users can place it on the floor using their camera.
iOS devices use AR Quick Look. If we provided ios-src (USDZ), it will use that; otherwise, it can try converting the GLB on the fly. The user will see the chair in their space using the iOS AR viewer. No separate app is required—it uses the device's built-in capabilities. And we didn’t have to write any platform-specific code! Just ar and optionally ios-src.
Now, how do we let users on desktop try the AR experience? If you’re on a computer, you can’t do AR directly (since there's no mobile camera). One approach is to use QR codes to let the user quickly open the product on their phone. For example, you can generate a QR code that encodes the product page URL or a special AR deep link. Then, show that on the desktop site with instructions: Scan to view in your space. Many e-commerce sites do this for AR-enabled products.
📰Example… different but same.
Headless Heroes are to blame for this post. Wait, what? Last year, we had a livestream over at YouTube: Next Level Product Visualization and Configuration with 3D and AR. Headless heroes (aptly named by our marketing guy) are three characters we brought to life: Cave Guardian / Jack of All Trades / Master Chef.
You can check out the Headless Heroes demo here, or scan the QR code with your phone to instantly load the model and enter AR mode.
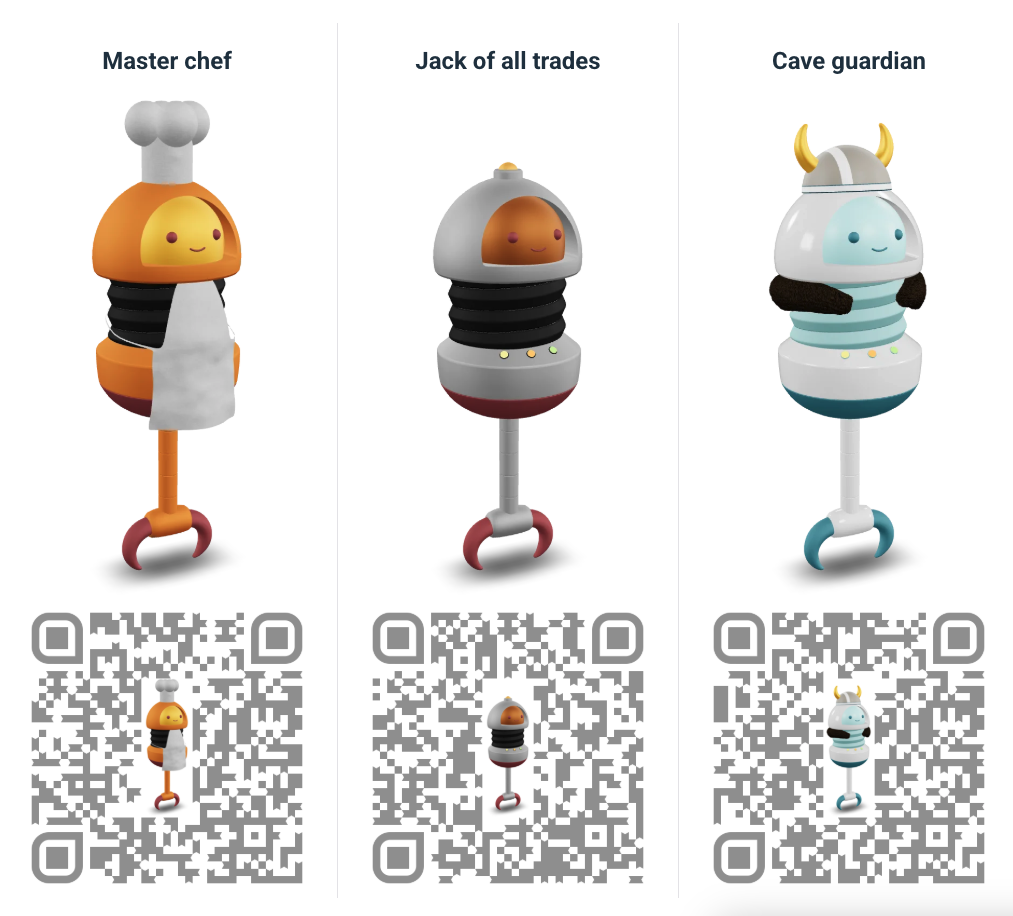
You can generate QR codes using libraries or APIs and display them next to the model viewer. In our case, since we have variant-specific models, you might even create a QR that deep-links directly to that variant’s view. But a simple solution is to link to the same product page (your Next.js page) – when opened on mobile, the AR button will be there.
For an even more direct approach, <model-viewer> provides an AR button by default on mobile. If you want a standalone AR link, you can use an anchor with rel="ar" that directly links to the USDZ or GLB file, triggering Quick Look or Scene Viewer immediately.
Performance Tips for a Smooth 3D/AR Experience
By now, we have a working 3D configurator with AR, which is fantastic. But to make it production-ready, let’s cover a few performance best practices so your users have a fast and smooth experience.
Optimize Model Size. 3D models can be heavy (in size). Aim for the smallest file size that still looks good. Simplify meshes (remove unseen details and lower polygon count) and compress textures (use JPEG or PNG wisely, or even better, KTX2 or Basis texture compression for models). A 20MB model will load much slower than a 2MB one, especially on a mobile device.
Use Draco Compression if Needed. Draco is a mesh compression technique that can significantly reduce the size of GLB files. <model-viewer> supports Draco-compressed glTF files out of the box – it loads an extra decoder script on demand to decompress.
However, the decoder itself is around 100 KB, so use Draco only if it saves more than that in model size. Many export tools, including Blender via glTF exporter settings, can apply Draco. This can reduce a large model to a much smaller file (often by 30-50%).
Lazy Load & Defer Offscreen Models. If your page has multiple <model-viewer> instances (imagine a list of products), you don’t want to load all of them at once. Thankfully, <model-viewer> is smart about this – it will lazy-load offscreen models by default. Still, it’s good practice to only insert a <model-viewer> into the DOM when needed (e.g., when the user navigates to that product page or scrolls to that section). Use posters so users always see something while the 3D content loads.
Load on Interaction Option. You can even choose not to load the 3D model until the user interacts, such as by clicking a “View 3D” button or the poster. <model-viewer> has a reveal="interaction" mode for this use case. That means it will show the poster and only load the model when the user clicks or touches it. This can save bandwidth if many users don’t actually view the 3D content and just scroll past it. Consider this if 3D is an enhancement rather than critical content.
Mobile Fallbacks: Despite our best efforts, some older devices might struggle with WebGL or simply not support AR. Always have a decent fallback. The poster image is one fallback (if the model fails to load, at least the image is there). You could also detect and hide the 3D viewer on very old browsers and just show an image gallery in those cases. Thankfully, <model-viewer> works on most modern devices, so this is just a precaution.
Caching and CDN: Host your model files on a fast CDN (which Crystallize does for you). Once loaded, <model-viewer> will cache them. If your users often switch variants, the browser cache will make subsequent loads faster. Also, use the same URL for the same model so that caching actually works (don’t use random cache-busting filenames unless necessary).
Follow these tips to keep the experience snappy. The goal is to make the 3D/AR features enhance the shopping experience, not slow it down.
✨Do it like pros, do it like Sweef.
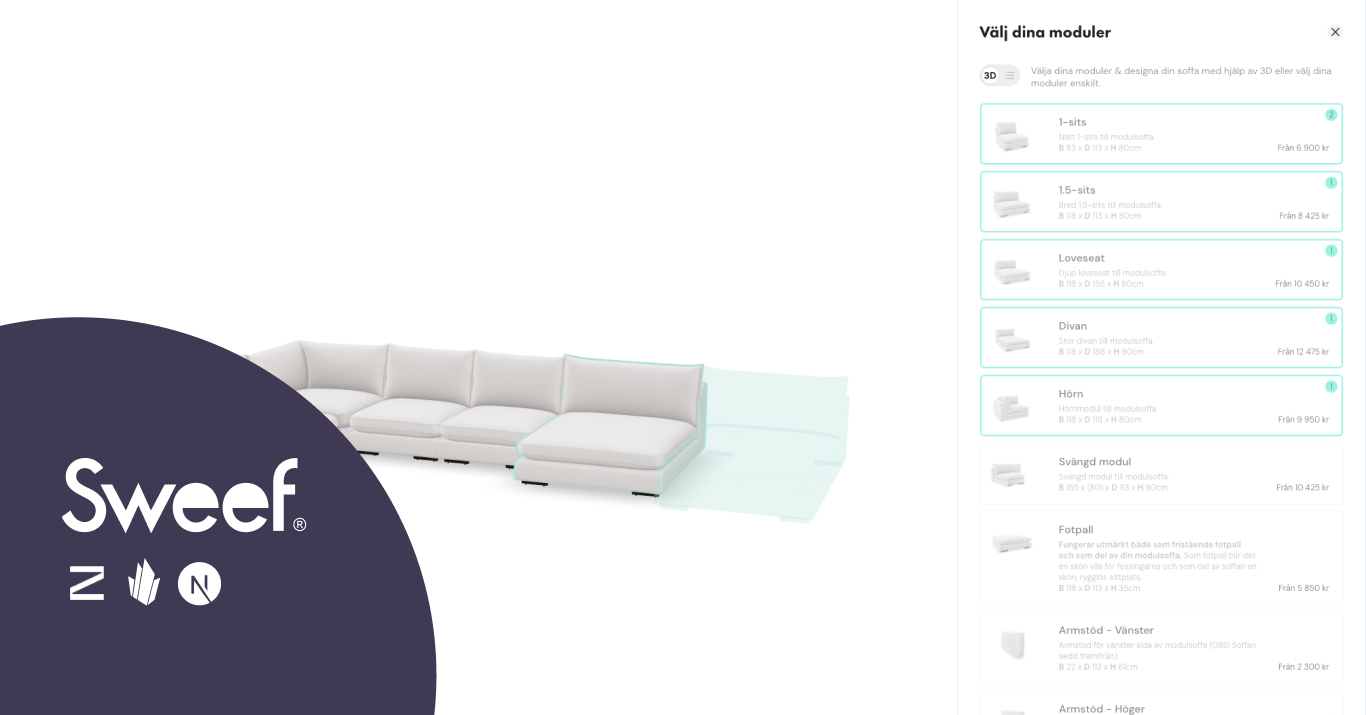
Discover how Sweef uses Crystallize + Next.js and Product Configurator to model modular sofas—mixing bases, fabrics, and add-ons in a single product universe via GraphQL API for a seamless 3D configurator experience.
Check the Reimagining Sweef.se case study for more.
Ready to Wow Your Shoppers
🥳Congratulations – you’ve built a mini 3D/AR product configurator!
With relatively little code, we leveraged powerful tools to create an interactive shopping experience. Crystallize handled the product data and variant management, while 🥳 handled the heavy lifting of rendering 3D and launching AR with just a few attributes. We demonstrated it with a chair, but you can apply this to any product: from sneakers to sofas, lamps to laptops.
The possibilities are endless: you could extend this tutorial by adding more interactive features, such as letting users customize parts of the model or integrating a full shopping cart workflow once they select the variant they like.
But even on its own, allowing users to explore a product in 3D and AR is a huge leap in e-commerce UX. It’s not just cool tech for technology's sake—it helps customers make informed decisions. As we saw, that translates to more confidence, higher conversion rates, and fewer returns.
So, go ahead and try it with your products. Have fun with it! Create a funky AR furniture gallery or a 3D sneaker try-on showcase. Now that you know how to place objects in the real world via the browser, the web is your playground.
We’d love to see what you create. If you build a 3D/AR product viewer for your store (or just a funny AR furniture demo featuring a flying couch 🛋️✨), share it with our community!
The future of online shopping is interactive. We're glad we can help!
Set up a personal 1-on-1 Crystallize demo, tailor-made to your use case, or, why not, SIGN UP for FREE and get the unmatched level of support from our team to help you get going.

