Hands On Experience: How to Build an eCommerce Store with Next.js?
Getting started (or returning) to web development with React can be easier than you think.
But first, a background story to give you context. I didn't take the path most Computer Science students take once they graduate. At some point during my college career, while coding my brains out in Java, C++, and assembly, I decided that being a full-time developer was not for me.
To be fair, I hadn't known what to do with myself even before college. I’d always liked writing, but you couldn’t get paid for that. (Right?)
As the Internet became more popular, I’ve enjoyed building homemade websites in HTML+CSS, learned a great deal about how to use search engines, connected with people worldwide, and even bought books and Star Trek memorabilia off eBay.
Therefore, the elders in my life had nudged me toward Computer Science, saying I’d be sure to make a lot of money once I graduated. I’d started with programming classes in high school, then continued with that path into college. And while I kept up with my coursework, I was never all that into coding for coding’s sake. It wasn’t something I itched to do in or out of the classroom.
As a result, my career path has been colorful: tech support, technical training, business analysis, and project management. I once had a job helping developers who used my company’s SaaS and APIs to get up and running and troubleshoot their programming issues. But by far, my favorite thing to do has always been technical writing and documentation. I enjoyed writing articles for the company website, for the knowledge base, you name it.
It turned out I could get paid for writing. Who would’ve thunk it?
I like writing so much that I’ve done a fair bit of it outside work as well. It’s been mostly for myself and my own fun, but I was able to get some work self-published under a pen name.
Now I’m doing technical writing full-time. Although I enjoy every second of it and wouldn’t want things any other way, there’s no denying that my technical side has atrophied a bit. It's super-hard for a full-time developer to keep up with all the latest technological trends, never mind someone who isn’t constantly immersed in it.
So, every once in a while, I like to dip my toes back into that water to learn what’s going on. It helps me to write better documentation when I know firsthand what’s important from the developer’s perspective.
On one occasion, I wanted to see if I could deploy one of the Crystallize boilerplates myself. And if I wanted to later on, I could eventually customize the boilerplate to sell my short stories and novels without having to rely on the big A or the big G.
What follows is a nice bit of hands-on experience. How easy or hard was it for a beginner like me to pull off?
Picking and Installing a Boilerplate
With so many boilerplates in the Crystallize open-source Learn section, how do you pick the right one? Kidding aside, this was a real challenge for me. Should I opt for Remix as my main front-end solution or Gatsby or NextJS? And why?
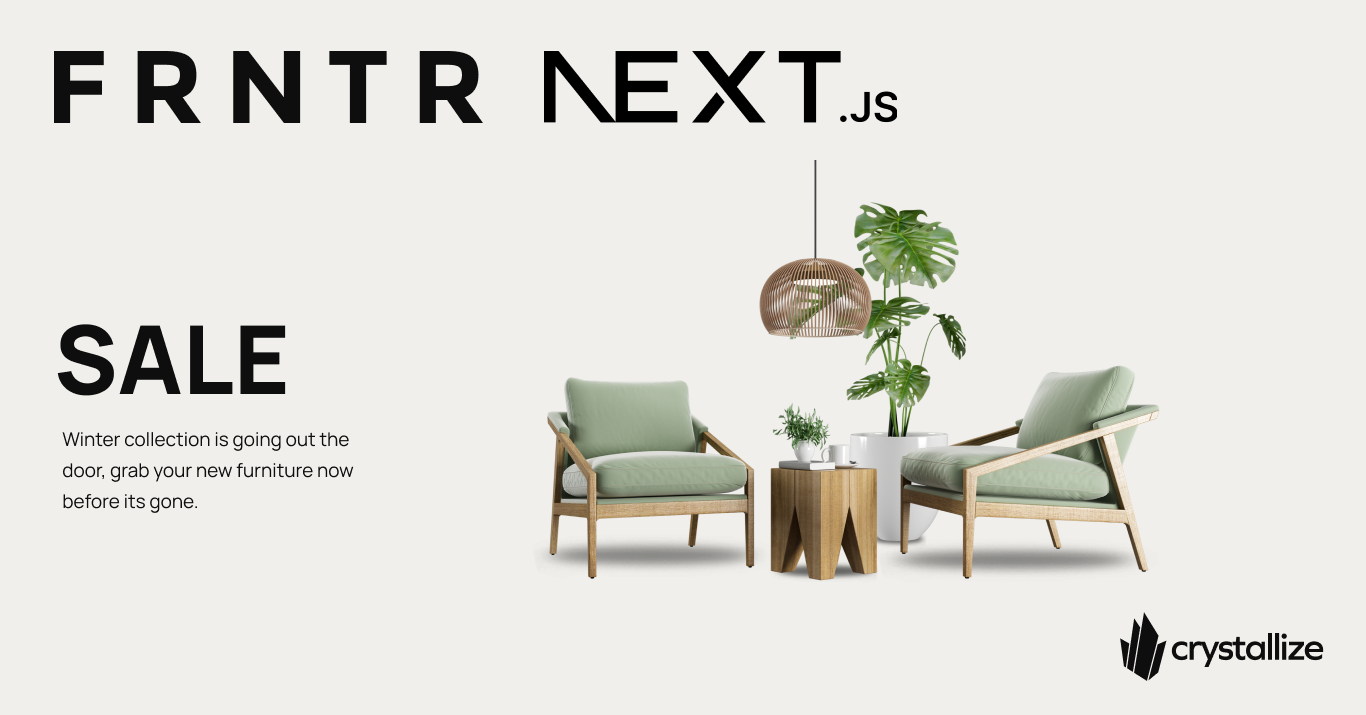
It seems to me the Retail eCommerce NextJS boilerplate is a perfect candidate for my purposes: a webshop with built-in payment integration relying on NextJS, one of the most popular React-based frameworks at the moment.
OK, so now I have to install it. But before I can do that, I need to make sure I have all the prerequisites in place.
Taking Care of Requirements
Web development is no longer as simple as opening a couple of HTML files in a text editor and constantly refreshing your favorite browser. There’s a list of things that need to be in place for the boilerplate to run successfully. Here's how I went about getting them. Keep in mind I’m using an Apple M1 MacBook Air with macOS Ventura 13.4.1, but the same basic steps apply to other environments, too.
In this case, the list goes like this:
Git - Git is the version control system underlying GitHub. It’ll be useful to have around if and when I customize the boilerplate; I’ll be able to revert breaking changes, for instance. From the Git documentation, I saw that one of the install options for macOS is to use Homebrew, a package manager that I already happen to have. One terminal command later (brew install git), and I was all set!
Node.js - This is an open-source server environment that will host the boilerplate locally. Version 18 or higher is required. I used Homebrew to install this as well (brew install node).
Crystallize Account - A Crystallize account is required to work with the demo data and content. I already have one, but if you don’t, you can sign up here.
Access Tokens - Access tokens are necessary to invoke Crystallize APIs that have some level of authentication on them. The Order API and Subscription API require authentication by default, but other APIs can be set up with higher-level security as well. I’m already good to go here. If you need more help, you can refer to our docs on generating access tokens and adjusting authentication settings.
Installing the Boilerplate
To install the boilerplate, I could either clone its repository or use the Crystallize command line interface (CLI). I go with the latter option, typing this command into my terminal window:
npx @crystallize/cli-next@latest install [install folder]I chose the Furniture Next.js boilerplate.
Next, I’m prompted to make a decision regarding the Crystallize tenant used by the project. I can point my project to the existing demo tenant, point to one of my existing tenants, or have a new tenant populated with demo data. I chose the last option. Later on, the tenant and its contents (items, shapes, assets, etc.) will be mine to customize as I see fit.
I then have to provide my access token ID and secret.
After making these selections, the tenant is created, and the boilerplate is successfully installed in my chosen install folder. Great! That was easy.
Deploying the Boilerplate Locally
With that done, I should now be able to run the boilerplate locally. I browse to the [install folder]/application folder, as prompted by the installer:
cd [install folder]/applicationFrom there, I enter
npm run devAfter this, my demo should be available at https://localhost:3000/en. I’ll open a new browser window and see what happens …
Woohoo!

What Now?
From here, I’m free to customize this boilerplate however I like. Our boilerplate docs explain where different files reside and what they contain. I’m pretty familiar with tenants and how to go about customizing them with the Crystallize App, but if you’re not, you could refer to our User Guide for help. You’re also free to reach out to our Slack community with questions and requests. Or you can check part two of my journey, installing the Next JS starter and customizing it.
A certain pride and triumph come from flexing these technical muscles now and again.
Why not give it a try yourself? It may be easier than you think!
🔎Dive Deeper.
Next.js Starter Install Experience: Part 2
Let's look at the many ways the NextJS eCommerce starter can be customized once installed. It's easier than you think.

Retail eCommerce Remix Boilerplate Has Been Released!
Remix and eCommerce go well hand in hand, and we have a free open-source boilerplate for retail storefronts to prove it.

Hands-On Experience: eCommerce Store with Astro?
Astro🚀 has been a hot topic since its release in June 2022, especially because it is extremely fast. So it was a no-brainer to choose which framework we should go with next for our series of minimal eCommerce boilerplates titled ‘dounut’.
