Next.js Starter Install Experience: Part 2
Let's look at the many ways the NextJS eCommerce starter can be customized once installed. It's easier than you think.
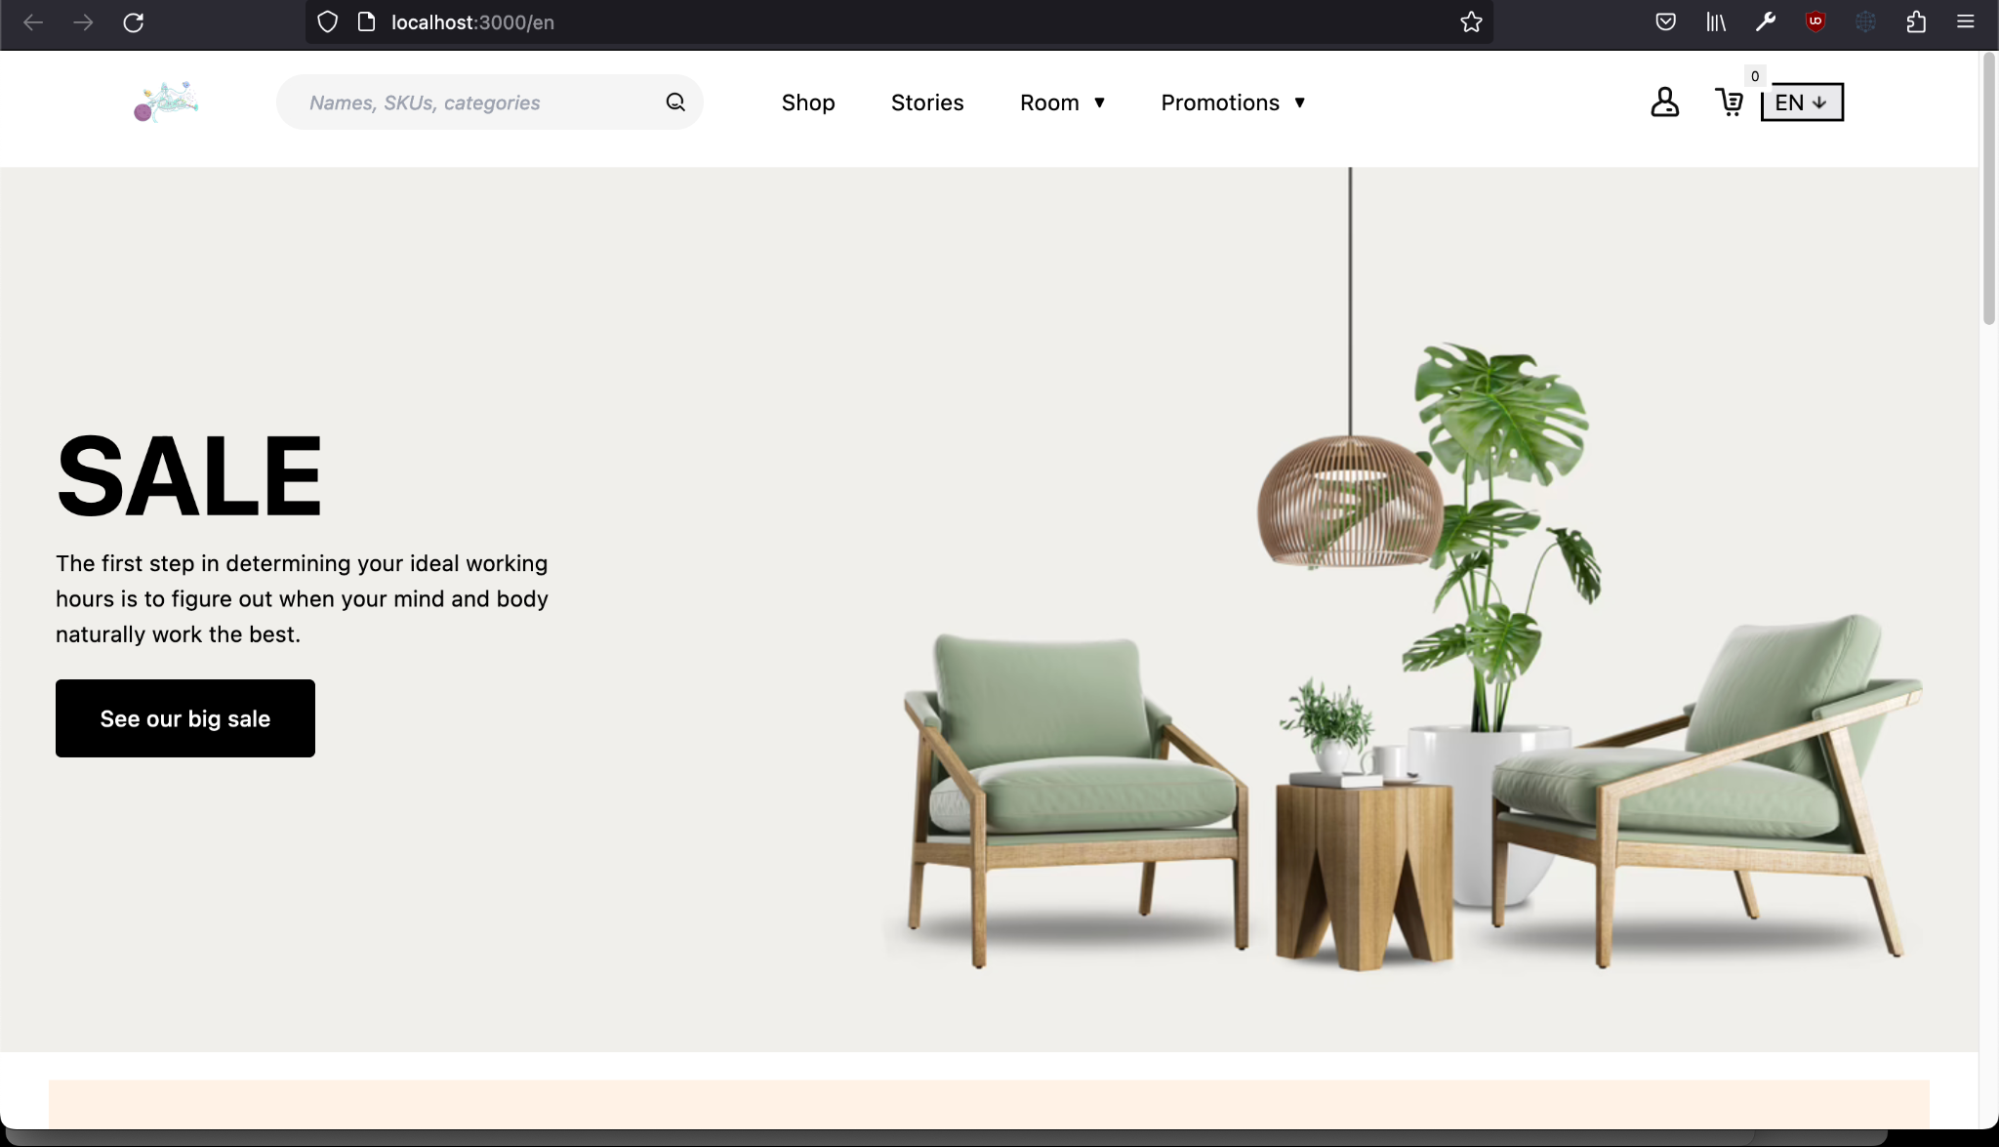
Welcome back! In my last post, I showed how easy it was to install Crystallize’s open-source NextJS retail eCommerce boilerplate even though my programming days are some years behind me. The boilerplate is now deployed locally on my machine, pointing to my own custom tenant populated with demo data. Right off the bat, it’s got all these products, beautiful design elements, assets, and multiple payment integrations built in. Awesome!
Now, I want to see if I can take it further. As I explained before, my goal is to end up with a site I could use to sell my self-published books and stories. Selling on my own independent website would mean that the profits go directly to me and wouldn’t have to be split with Amazon or Google or whoever. It would also mean that I’d remain capable of selling no matter what happens to those giants in the future (nothing lasts forever).
So, what sort of changes would I have to make to accomplish this? They fall into 3 categories: changes to the catalog content, changes to asset and design content, and changes to the underlying code to accommodate the other two categories.
Let’s have a look at the necessary steps in more detail. First, you can watch this demo for the boilerplate we’re about to explore. It includes installation instructions and some details about customization:
Customizing Tenant Content (PIM)
Crystallize is all about product information management (PIM). The boilerplate interfaces with a demo tenant, which contains a catalog full of products, documents, and folders that are structured using special templates called shapes. Since I chose to install my own demo tenant, I’m free to play with and adjust it however I like. (I may then need to make code changes, as will be explained later.)
My first move would be to evaluate what already exists in the demo tenant. Could I make use of the existing shapes as-is? That would be ideal, as it would minimize or even eliminate the need for code changes down the line. To find out, I can log into the Crystallize App and switch to my demo tenant. From here, I can click the Settings button on the left-hand side of the screen, then click the Shapes label. Another option is to bring up the command palette with CTRL+K or ⌘+K and select the Shapes option.
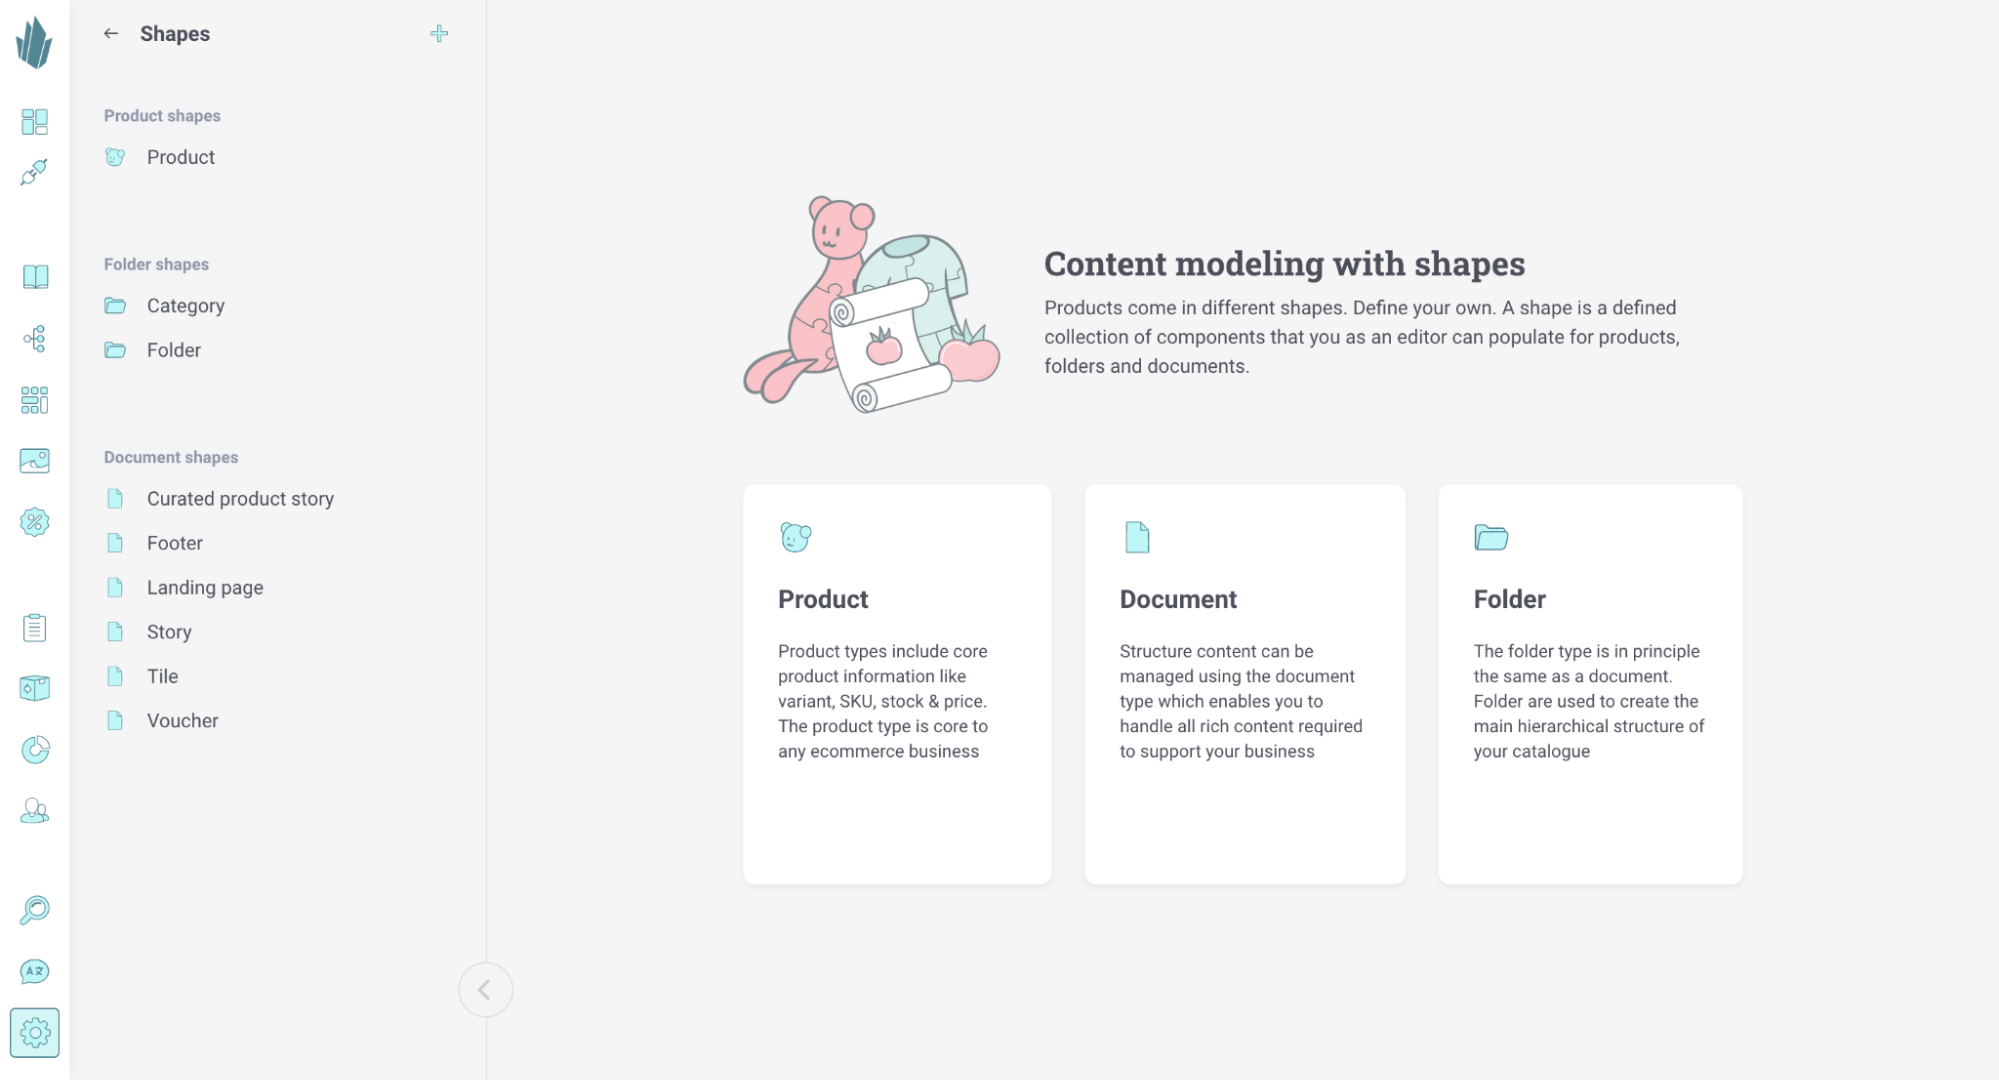
On the left, I can see the shapes that are part of this tenant. I’ll check out the shape named “Product” by clicking on it.
Shapes are built from one or more components, which are containers for things like text, images, and much more. This particular shape has components for product descriptions, properties, related items, etc.
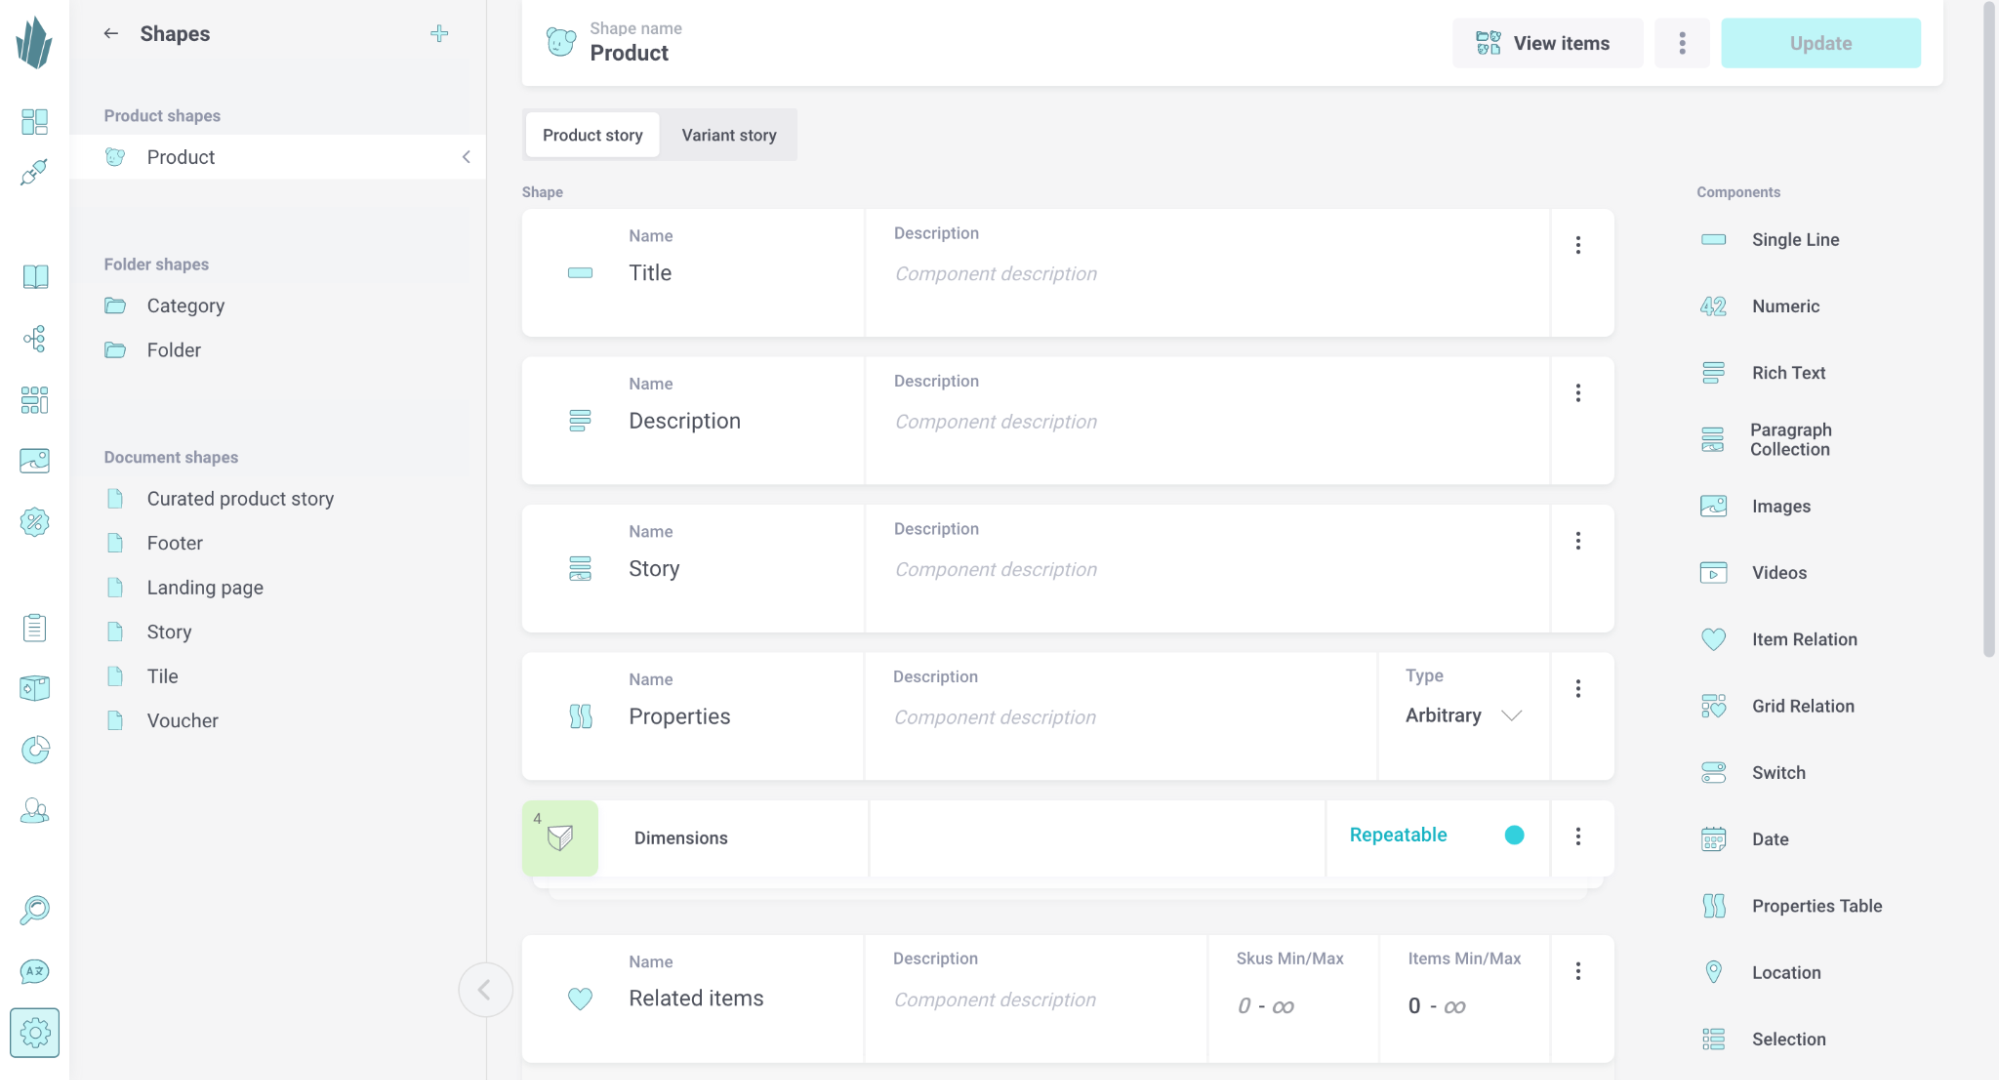
Now, I need to make a decision. Is the Product shape adequate for the products I would want to sell and the data/content I would want to maintain for them? If so, great! I could start creating products right away.
If not, then I’d have some more work to do in the form of content modeling. What do I want to store, and how? For instance, maybe I want to track contributors for each of my books. How would I do that? In a similar fashion, I'd need to figure out if the existing document shapes, folder shapes, and catalog structure would work for me as-is, or if they would need restructuring as well. Once I’ve figured that out, I could come back to the Crystallize App and create the shapes that would form the basis of my catalog content.
With any adjustment to the existing shapes and/or catalog structure, code changes will be necessary for the boilerplate to keep working. We’ll get to that later.
Customizing Images and Design (DAM)
Crystallize also has built-in digital asset management (DAM) capabilities. Between that and the boilerplate design, there’s a lot that I could customize without touching a single line of code.
From the Asset Organizer, I could add pictures of my book covers to the tenant and add any topics and metadata I would like. Then, I could go about dropping those images wherever they’re needed with the Magic Paste lightbox or the catalog sidebar.
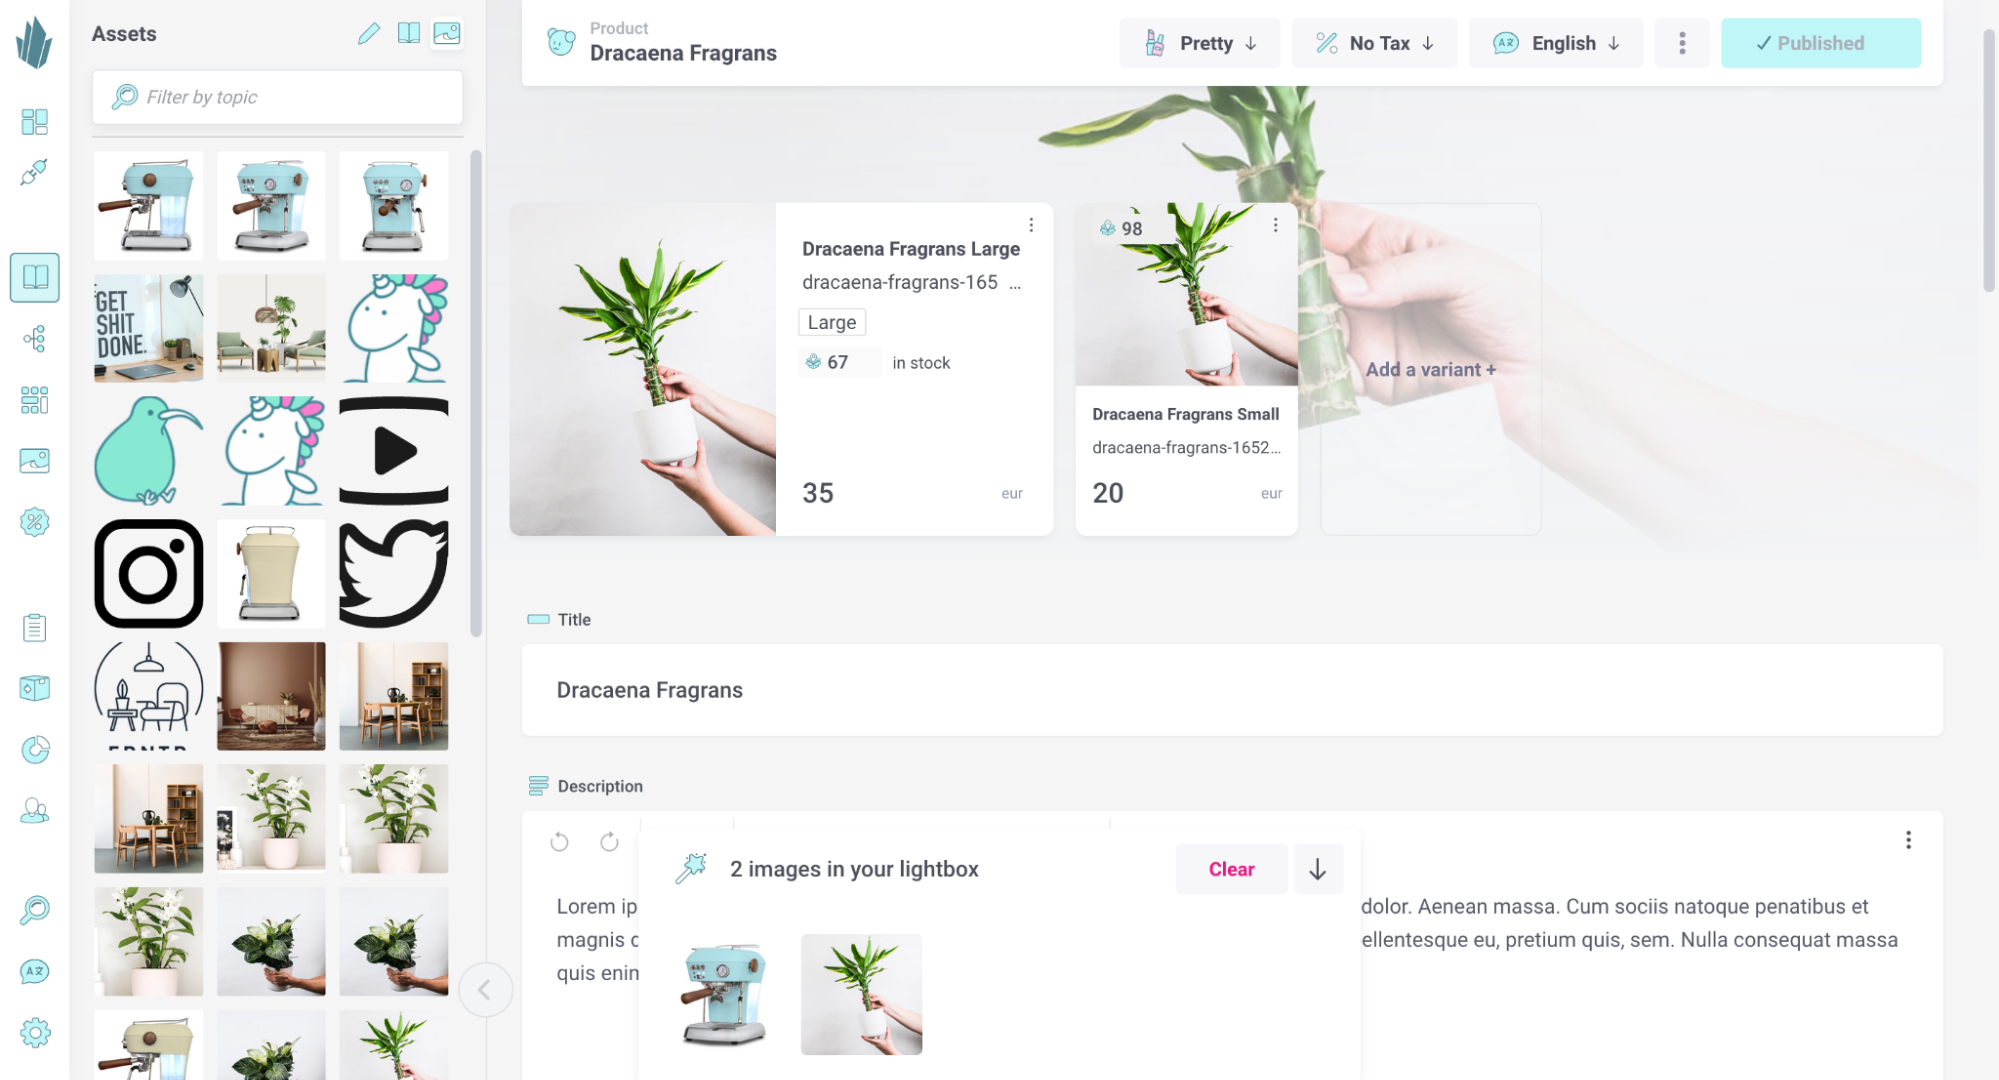
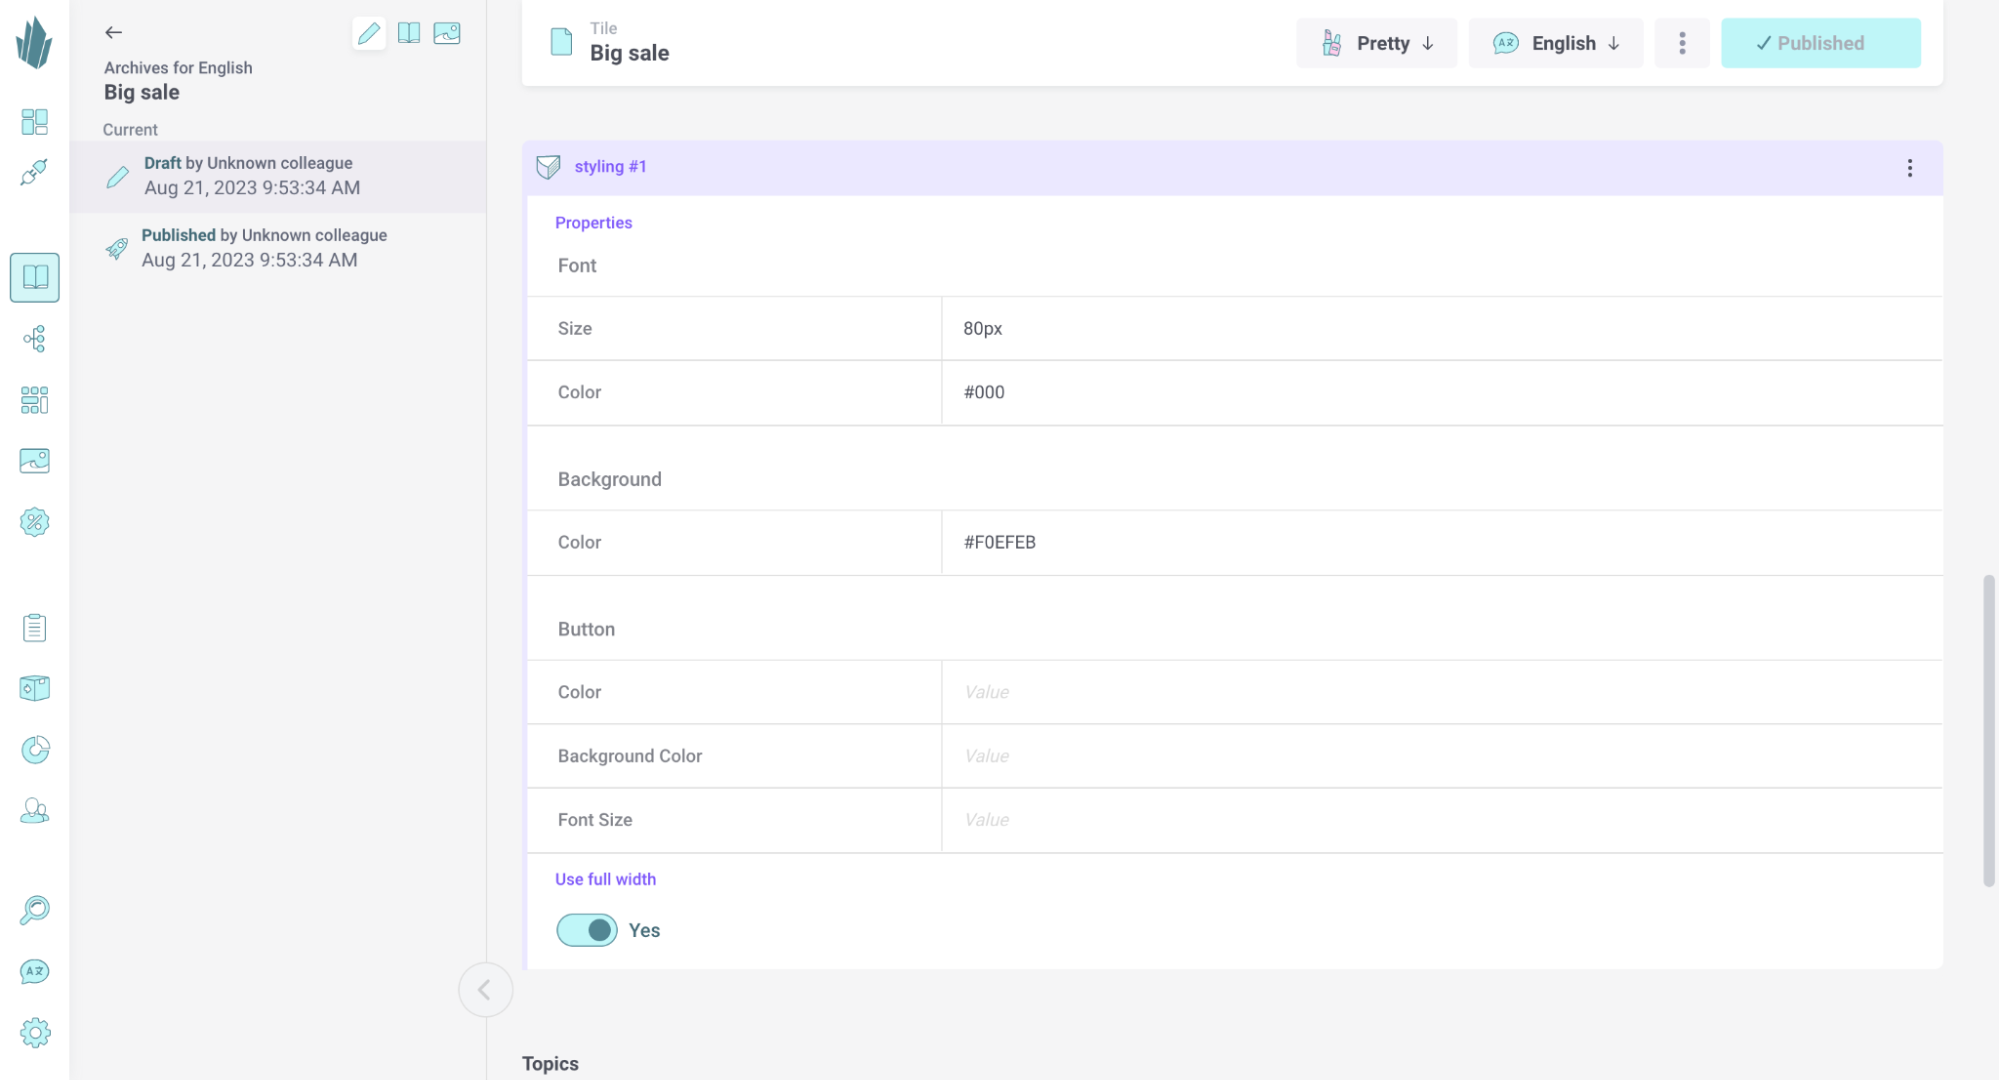
There are also many design elements that I could adjust directly from Crystallize. Upon browsing to the tenant’s catalog, I could edit the current Frontpage and Footer files by changing the grid or adding/removing elements and text from the components. Inside the _Tiles folder, the documents here have “styling” components that I could use to adjust fonts, backgrounds, and buttons. Upon clicking the Publish changes button, those changes would then be made live within the boilerplate.
Once this website was actually deployed somewhere, I could go about creating a custom view so I could preview my changes in real-time within the Crystallize App.
Customizing Code
Some changes to the demo tenant–for instance, replacing the Product shape with a Book shape more in tune with my requirements–would require changes to the underlying boilerplate code. I might also need to make changes if, for instance, I decided to add a new payment provider or add a webhook to listen for new orders and respond with a “Thank you” email. The NextJS boilerplate documentation contains information on the files that would have to be edited and where they reside.
I don’t know about you, but I’d almost certainly need help to proceed at this point. Fortunately, Crystallize has a great Slack community. I could post my questions there and get help from both Crystallize users and engineers. This is reassuring should I need to move forward with such efforts.
Moving Forward
Whatever your technical background may be, you’ll find it easy to install a Crystallize boilerplate and customize it to fit your requirements. If you’re impressed with what you see here and are considering using Crystallize as part of an even bigger project, you can chat with us in Slack or contact our Sales team for assistance.
We’d be glad to help you figure out the best solution for your needs.

