Next.js eCommerce Accelerator
This open-source Next.js eCommerce accelerator is built with best practices in mind. It showcases Crystallize configured for product storytelling covering both eCommerce and marketing. Optimized for SEO, Accessibility, and Performance - and powered by Crystallize’s Discovery API and Shop API.
Getting started
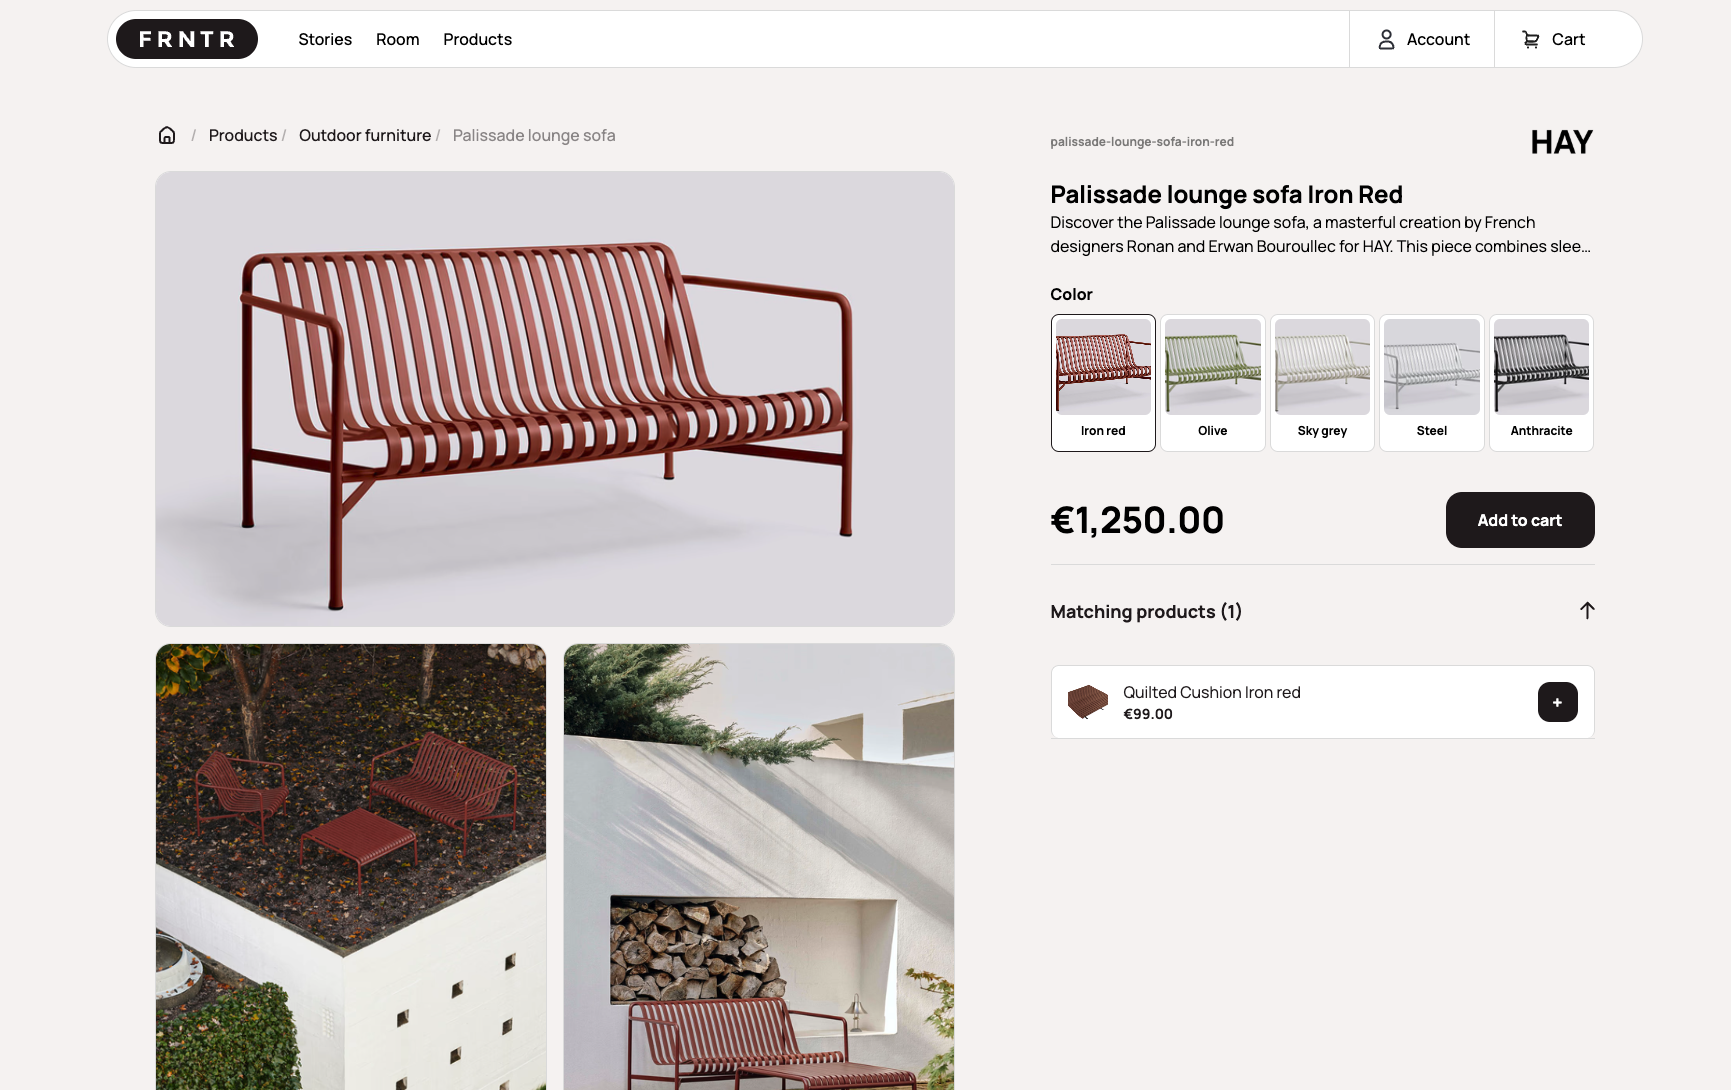
First you can check out the live demo site to get an impression of the functionality in this eCommerce template.
To create a new project, the quickest is to use the Crystallize CLI. Once you have the CLI installed; type in the following command:
crystallize boilerplate install <your-project-folder-name>crystallize boilerplate install <your-project-folder-name>Then follow the wizard and select the Furnitut Next.js Boilerplate option. This will clone the project, initialize a tenant with shapes demo data and ignite the Discovery API.
Alternatively you can clone the Github repository to get your local copy of this boilerplate.
You need to set the correct Crystallize tenant and access tokens in the .env file. There is a .env.example you can use as a starting point.
If you want to use the open demo tenant from Crystallize you can use the tenant identifier and tenant id shown below.
Remember: access tokens are secret and should not be shared.
CRYSTALLIZE_TENANT_IDENTIFIER=furnitut
CRYSTALLIZE_TENANT_ID=66d6f90eeeb7a544a0d94362
CRYSTALLIZE_ACCESS_TOKEN_ID=xXx
CRYSTALLIZE_ACCESS_TOKEN_SECRET=xXxCRYSTALLIZE_TENANT_IDENTIFIER=furnitut
CRYSTALLIZE_TENANT_ID=66d6f90eeeb7a544a0d94362
CRYSTALLIZE_ACCESS_TOKEN_ID=xXx
CRYSTALLIZE_ACCESS_TOKEN_SECRET=xXxRunning the project locally
First, navigate to the project folder containing the package.json file. Then, use npm to start the local deployment.
cd nextjs-furnitut
npm run dev
cd nextjs-furnitut
npm run devAccessing the Development Site
Once the development server is running, you will be able to browse to http://localhost:3000/.
Project structure
This is a Next.js project with combination of server side rendering and client side dynamic features like the cart and checkout.
src/app
The app folder contains all the routes / pages for the application. Each route is a combination of the TypeScript code (page.tsx) and the GraphQL query (query.graphql).