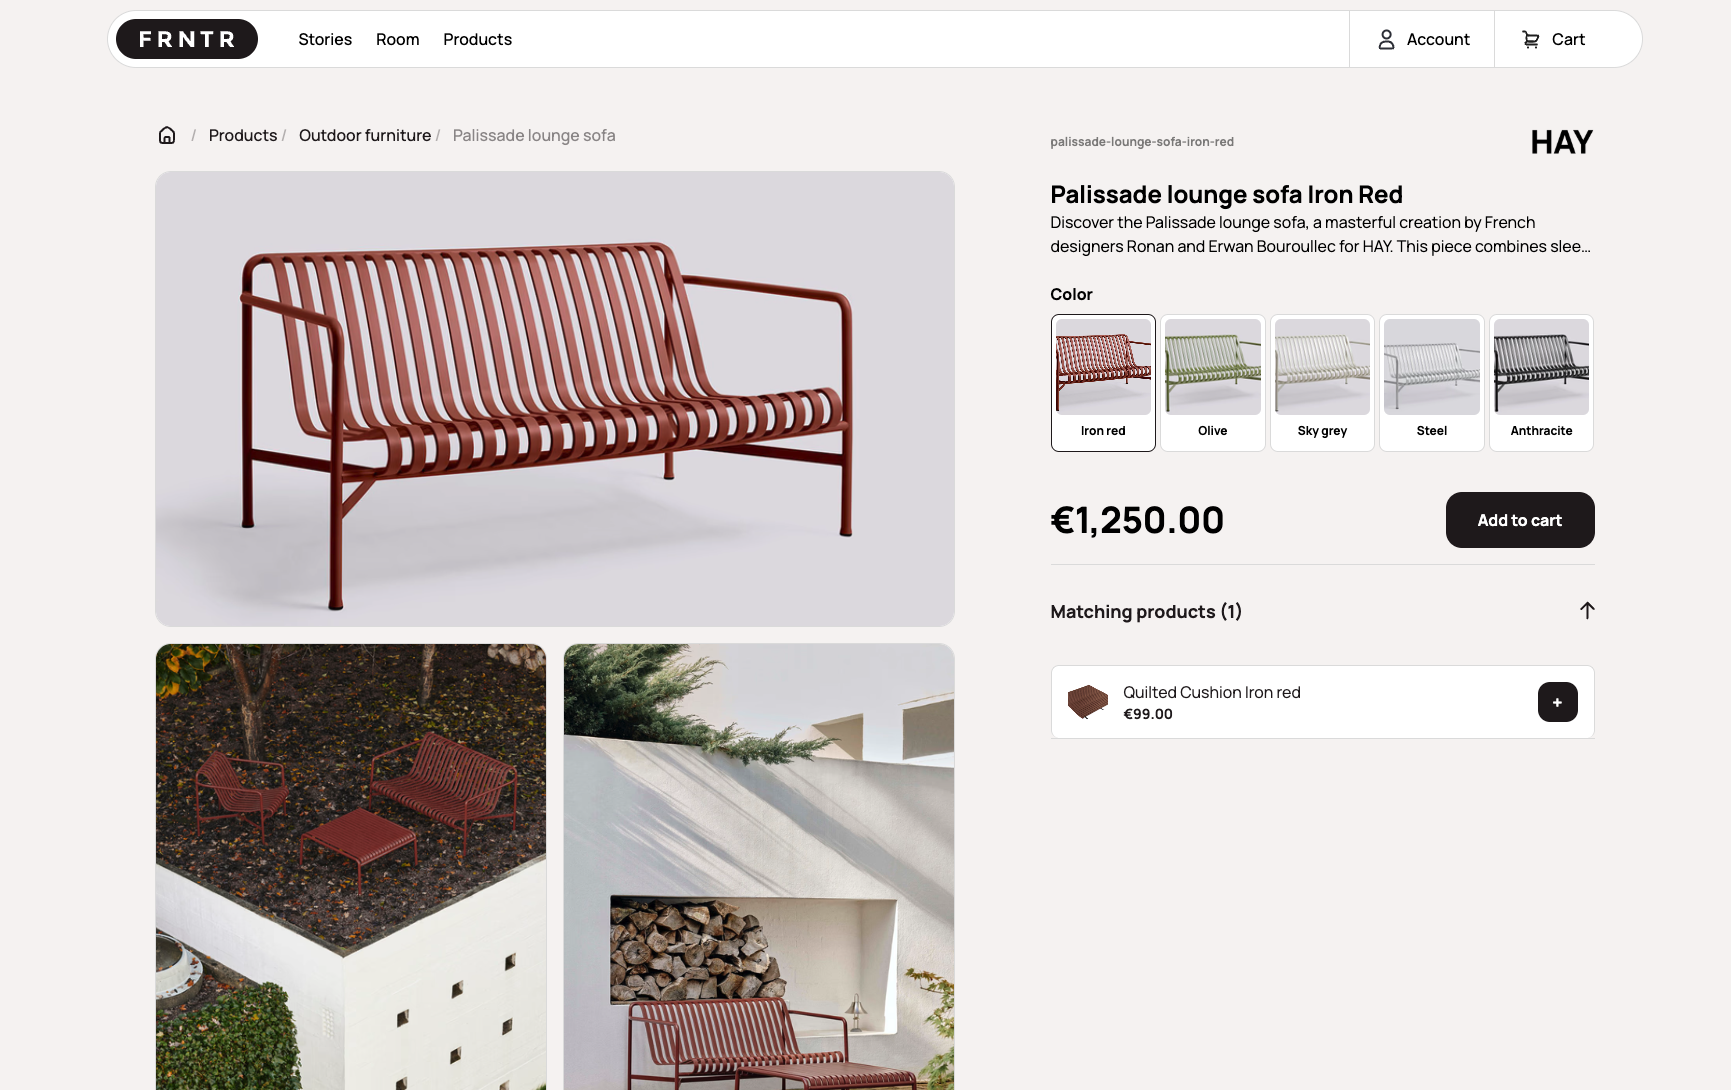
Nuxt JS eCommerce Boilerplate
Full-featured open source Nuxt JS (VueJS) eCommerce storefront template. This boilerplate provides an easy starting point for building a Jamstack eCommerce storefront with Crystallize and NuxtJS.
This boilerplate provides an easy starting point for building a Jamstack eCommerce store with Crystallize and Nuxt.js. You can also check out this boilerplate as a live eCommerce demo.
- VueJS + Nuxt JS
- Getting Started
- Prerequisites
- Running the Project
- Accessing the Development Site
- App Structure
- Editing the Pages
- Editing Reusable Components
- Creating Pages for Different Item Shapes
- Configuring Tokens and Environment Variables for Deployment
- Deploying the Project
- Livestream
- Next Step: Service API
This document acts as a reference guide on how to set up an eCommerce store using Nuxt, a static site generator for VueJS, and finally deploy it to Vercel.
What this guide covers:
- How to set up your project using the CLI
- Instructions for running the project
- How to access the development site
- The folder structure of the boilerplate
- Where to edit the pages and reusable components
- How to create pages
- Where to add the query URL to get data
- How to deploy the project on Vercel
To create a new project with our VueJS storefront, we’ll use the Crystallize CLI. In your terminal, type in the following command:
npx @crystallize/cli <name-of-your-project>
Running this command will allow you to add in the following:
- The preferred boilerplate, Nuxt JS in this case.
- The tenant: you can either enter your own tenant or go with the demo tenant to test everything out.
- Service API: You'll need to add in a custom Service API URL or use our demo one. You can learn more about the Service API by heading to the documentation page.
In order to use Crystallize CLI and run our project, you will need to have the following installed on your computer:
- Git
- Node.js (minimum version 10)
- Vercel CLI
You will also need to create a tenant with Crystallize by signing up and generating a Crystallize access token. The tenant identifier is required to retrieve the products related to your store and the access tokens are required for creating and retrieving orders.
If you are wanting to use Stripe for processing payments you will also need to sign up for a free Stripe account and get your test Stripe publishable and secret keys (you can also use the live keys in production). On the other hand, if you want to integrate with another payment provider, you can do it without problems.
You will need a free Vercel account in order to deploy your project to Vercel.
Once the development server is running, you will be able to browse to http://localhost:3000. If this port doesn’t work for you, feel free to add a PORT environmental variable with the one you like.
This section would provide you with a better understanding of the app structure.
src
Src includes all the source files that implement all the website actions.
lib
The library includes assisting functions and logic shared across multiple files.
layout
Layouts are a great help when you want to change the look and feel of your Nuxt.js app. Whether you want to include a sidebar or have distinct layouts for mobile and desktop.
We did extend the main layout that is shared across the platform by adding a default.vue file.
pages
It contains your application views and routes. Here you can edit the logic as to how you communicate with the Service API, create additional serverless functions, and more. For more information, read the introduction to pages concept in NuxtJS.
page-components
Page components include the render information of every page.
components
Components include the logic of every complementary component that is used in a page render, such as Basket. In every component dedicated folder, you may find the logic and styling information respectively.
assets
The assets directory contains your uncompiled assets such as Stylus or Sass files, images, or fonts.
static
The static directory is directly mapped to the server root and contains files that likely won't be changed.
This option is helpful for files like robots.txt, sitemap.xml, or images that won’t change such as the icons, the shop’s logo, and payment gateway logos.
locales
In the locales folder, you can map languages and pricing information after they have been defined it in Crystallize.
If for any instance you want to change the location or name of this folder, you might have to update the i18n module configuration (langDir) located in the nuxt.config.js.
plugins
The plugins directory contains JavaScript plugins that you want to run before instantiating the root Vue.js Application. You can learn more about the NuxtJS plugins feature in the official documentation
store
Contains the files of your Vuex Store. The store comes with Nuxt.js out of the box but is disabled by default. Create an index.js file in this directory to enable the store.
There are currently 3 modules defined: Authentication, Layout, and Basket. Inside each module, resizes all the logic it needs regarding that context to make it work. LEarn
To edit any of the pages i.e. the frontpage, the article page, the product page, or the folder page, you can:
- Head over to the page-components/{page_to_modify}/query.js file where you can select for each item what data you would like to query from Crystallize.
- Edit the page-components/{page_to_modify}/index.vue file to handle the data fetched and/or add custom logic for that page in the NuxtJS fetch hook.
- Edit the page-components/{page_to_modify}/index.css file to modify the styling of that page.
If you'd like to edit the reusable components that are being used across the pages, you can do so in the components folder.
We’ve used a mobile-first design approach following the BEM naming convention with plain CSS powered by custom properties.
Aside from some fixed pages such as the search or checkout page, most of the pages are being generated via the data that is being received using GraphQL. This is being done in the nuxt.config.js file. Here you can add logic to render different pages depending on the item shape, or that are under a specific folder, etc.
To do so you may:
- Create a new page-component to handle your specific shape under /page-components
- Alter the logic in the nuxt.config.js file to use your newly defined renderer based on the shape identifier. The default is querying by item type (folder, document, product)
There are two ways of deploying to Vercel.
The easiest is through the Vercel Github integration. Follow that guide to get automatic deployments for each git push.
Alternatively, you can also deploy manually from the command line. In order to enable that you need to install Vercel and login via the CLI:
vercel login
There are two environment variables you need to set:
CRYSTALLIZE_TENANT_IDENTIFIER=<your-tenant>
SERVICE_API_URL=<your-service-api>
We recommend that you set these using the Vercel dashboard.
Deploying your Crystallize project with Vercel is very simple. If you have used the github integration we’ve mentioned previously, you simply push to GitHub and that’s it. The deployment will be initiated.
If you want to do it with the CLI, you execute a deployment with this command:
vercel
This will build the website and deploy it to Vercel. The terminal will say whether the deployment was successful or not. And if it has succeeded, you will be given a URL where your site has been deployed to.
If you are deploying to production, you can also use the following command to deploy your website to a production domain if you have configured one for your project within the dashboard of Vercel:
vercel --prod
In order to manage a fully operational eCommerce, you need to manage user authentication, basket validation, payment, and such.
For that, we have prepared a boilerplate for you, the Service API boilerplate, which you would want to add alongside your Next.js project. Follow our guide to set up the Service API boilerplate.