Multilingual
Crystallize supports multilingual content throughout your Product Universe, making it simple to manage product data and storytelling for multiple markets.
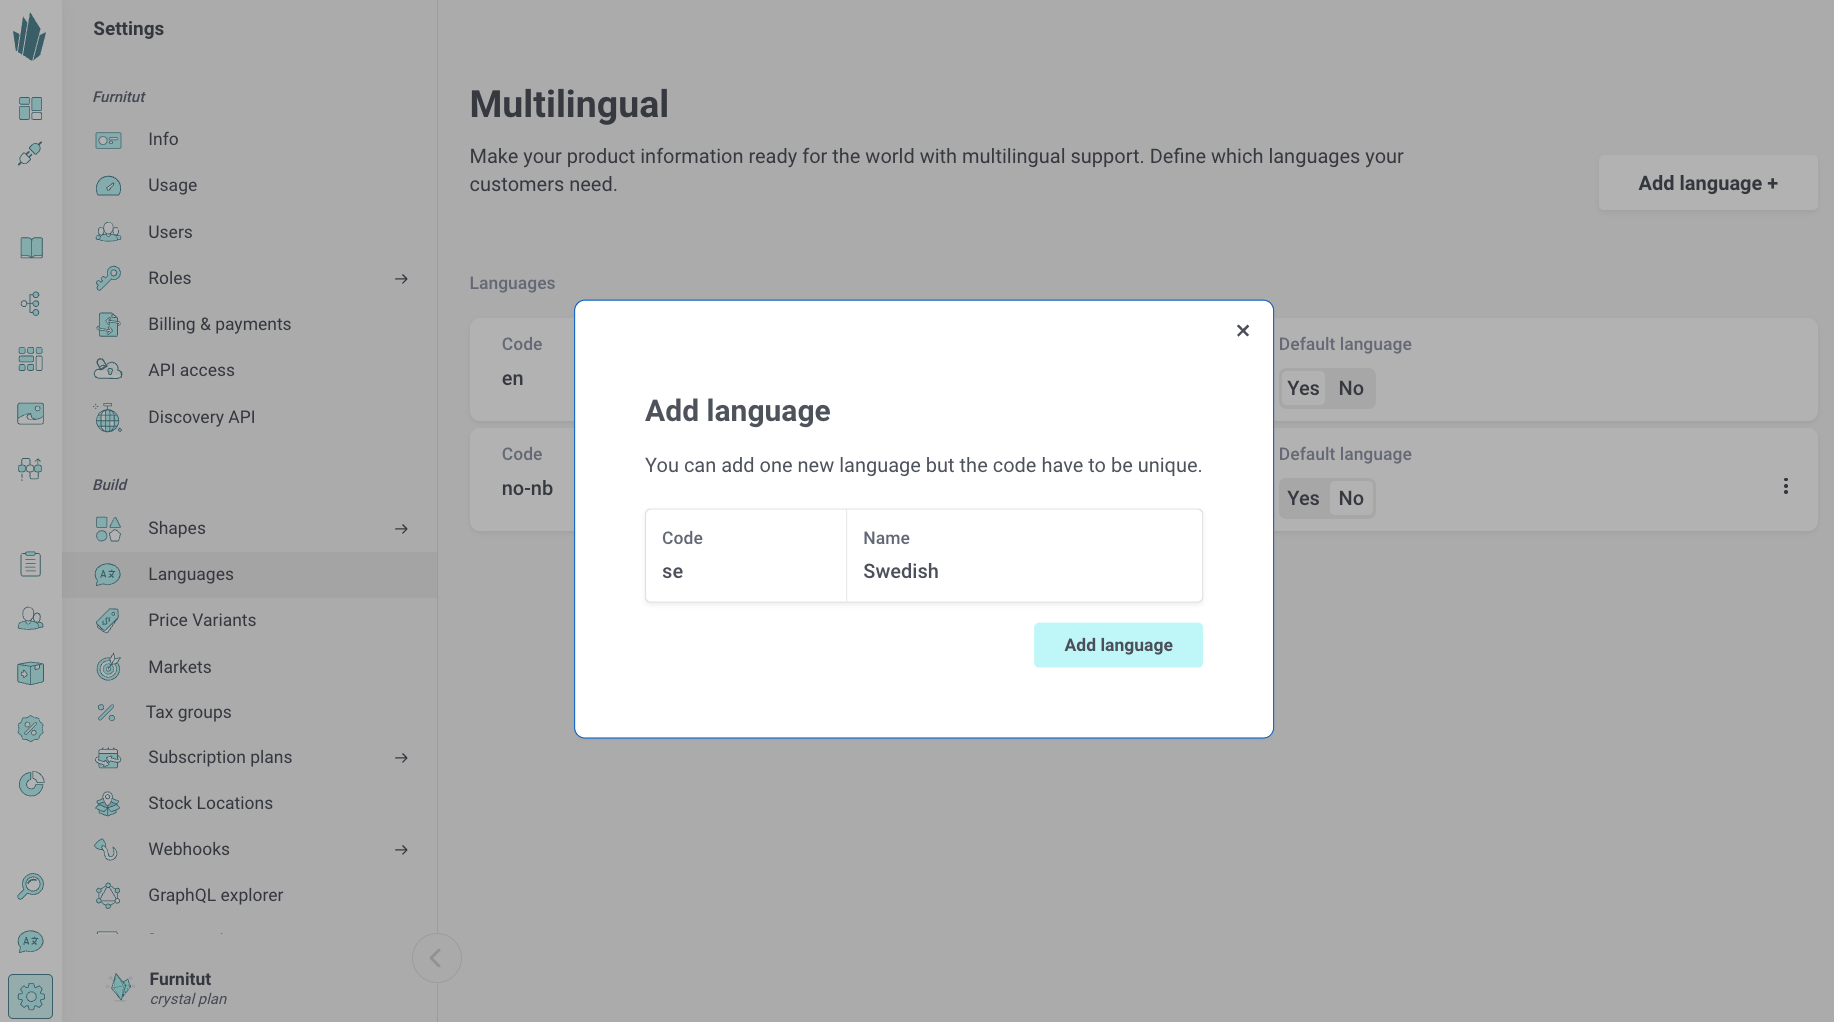
Configuring languages
You can configure languages from Settings → Languages. Click Add language to define a new language by its code (for example, en, no-nb, se) and name. Each language code must be unique.
You can also set which language should act as your default.
Where languages apply
Languages defined here apply across the entire tenant, including:
- Items - all content and product information.
- Topics - classifications and taxonomies.
- Grids - visual and editorial layouts.
- Assets - media captions, alt text, and metadata.
This means that every element of your catalogue can be localized, enabling full multilingual control over your product storytelling. You can configure on a component level when setting up shapes which components of and item should be localized.
How localization works
Once languages are configured, each item and content field becomes language-aware. You can switch between available languages directly in item edit to add translated content.
Best practices
- Keep language codes aligned with ISO 639-1 standards for compatibility (
en,de,fr,no-nb, etc.). - Define only the languages you actively publish in.