Grid Organizer
Grids in Crystallize are curated collections of catalogue items. They let you group products, documents, or folders into a freeform layout, independent of the main catalogue hierarchy.
While the catalogue defines your structured product universe, Grids give you editorial freedom to create selections of items for storytelling, promotions, or campaigns.
Why Use Grids?
- Curated selections: Highlight products for campaigns, seasonal promotions, or thematic collections.
- Flexible layout: Arrange items in a freeform grid that can be styled and rendered in your storefront.
- Cross-category grouping: Combine items from different catalogue branches without duplicating content.
- Reusability: Use the same grid in multiple contexts — homepage sections, landing pages, or newsletters.
Creating a Grid
- Navigate to Grids
In the left-hand menu, go to Grids. - Add a New Grid
Click the + icon to create a new grid. Give it a descriptive name, such as “Special Selection,” “Summer Campaign,” or “Editor’s Picks.” - Arrange Layout
Switch to Edit Layout mode to resize and reposition items. This layout is saved and can be used directly in your storefront for a visual experience. - Add Items
- Use the search or catalogue browser to find products, documents, or folders.
- Drag and drop them into the grid.
- You can mix different types of content (e.g. a product + a blog post).
- Publish
Once you are happy with the selection and layout, click Publish. The grid is now available via API and ready to use.

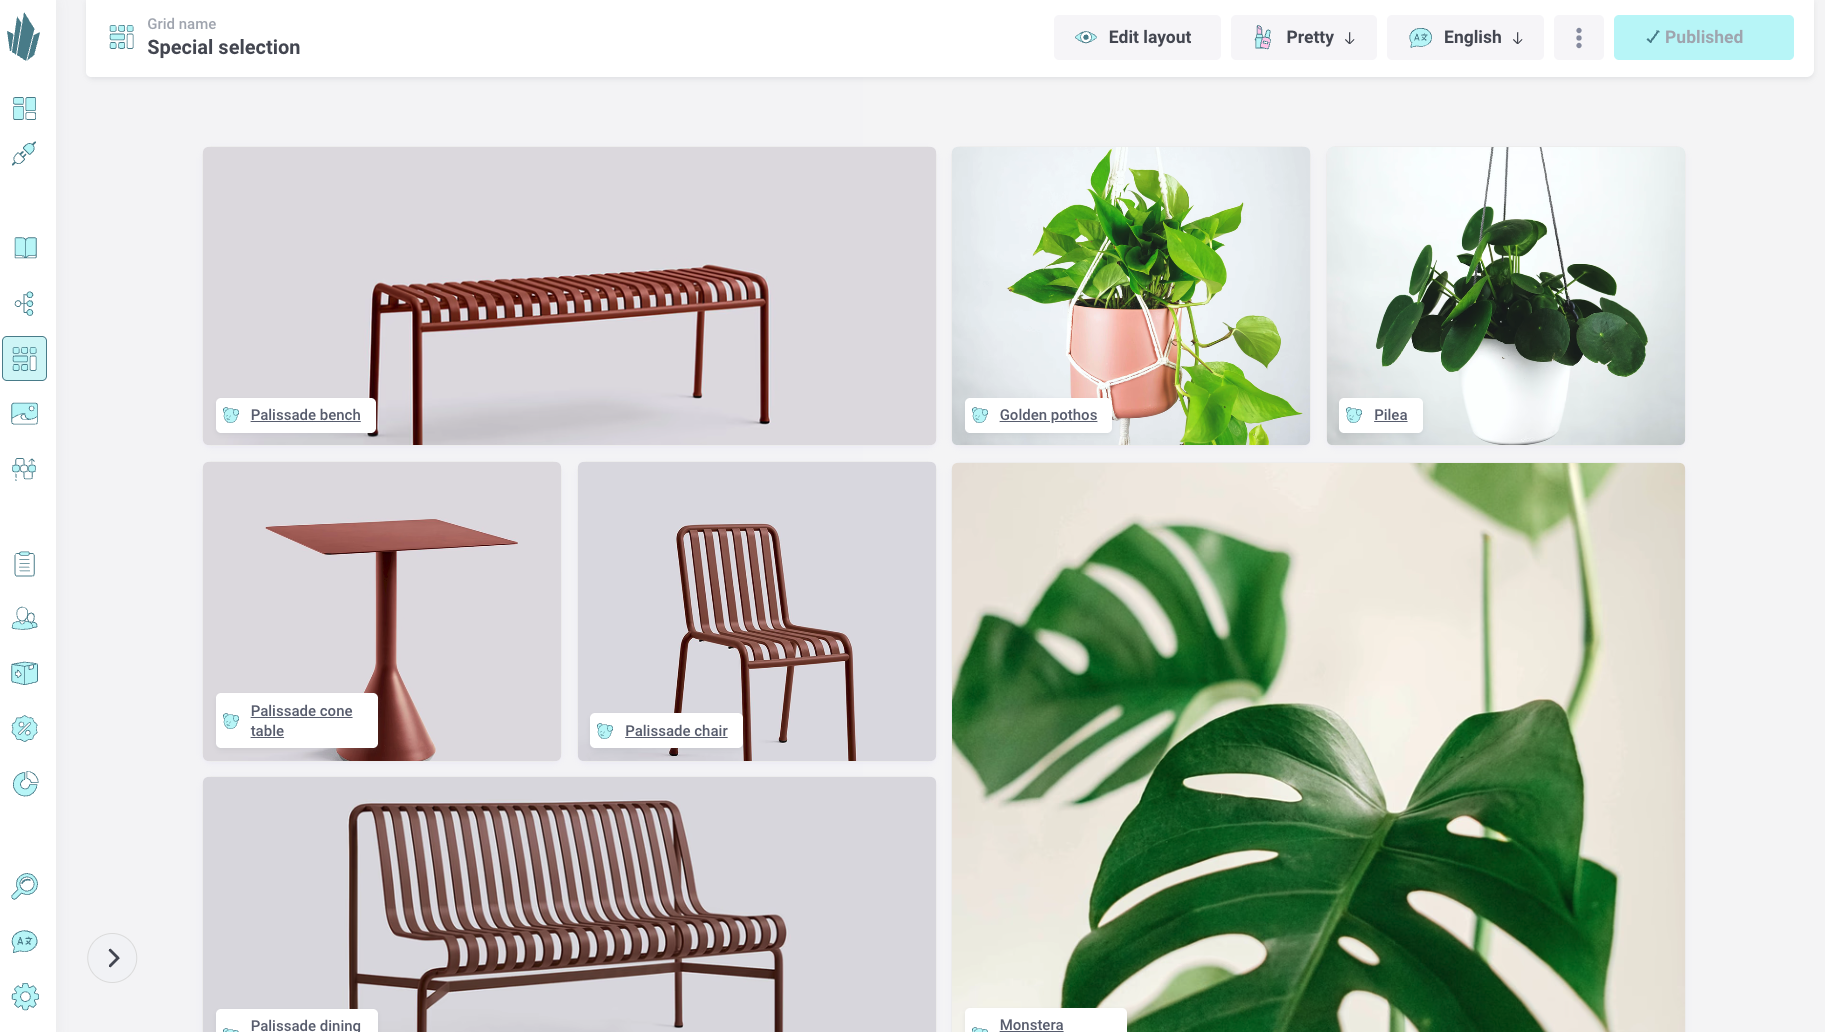
Example: Special Selection
In the screenshot above, a Special Selection Grid showcases a curated mix of furniture and plants. Items are arranged in a freeform layout with different sizes to emphasize certain products visually.
This grid could be displayed:
- As a homepage hero section.
- In a seasonal landing page.
- Inside a campaign newsletter.